Are you ready to unlock the secrets to successful baking? Whether you’re a beginner baker or a seasoned pro, these top tips will help you achieve perfect results every time. From measuring ingredients properly to understanding leavening agents, we’ll cover all the essential baking techniques to elevate your skills in the kitchen. Get ready to whip up mouthwatering treats that impress friends and family!
Key Takeaways:
- Measure ingredients properly using the spoon and level method for dry ingredients and clear measuring cups for liquid ingredients.
- Invest in a good mixer like a Kitchen-Aid stand mixer or an electric hand mixer for easier baking.
- Ensure room temperature ingredients for successful baking by bringing them to room temperature before using.
- Check your oven temperature to ensure accurate baking and avoid opening the oven during baking.
- Avoid substitutions in baking recipes as they can affect the outcome of your baked goods.
Measure Properly
Proper measuring is crucial in baking. Accuracy in ingredient measurements can make all the difference in the final outcome of your baked goods. To ensure precise measurements, it is essential to follow the proper methods and use the right tools.
The Spoon and Level Method:
The spoon and level method is the recommended way to measure dry ingredients, such as flour, sugar, and cocoa powder. To use this method, simply spoon the dry ingredient into a measuring cup until it is slightly overflowing. Then, use the back of a knife to level off the excess, creating a flat surface. This method helps to avoid compacting the ingredients and ensures a consistent measurement.
Clear Measuring Cups:
When measuring liquid ingredients, it is best to use clear measuring cups. These cups typically have markings on the side that allow you to accurately measure the desired amount of liquid. Pour the liquid into the cup, then place it on a flat surface to ensure a level measurement.
Weighing Ingredients:
If you want to take your baking precision to the next level, investing in a digital kitchen scale is highly recommended. Weighing ingredients is the most accurate way to measure, especially for ingredients like flour that can vary in density. Simply place a bowl on the scale, tare it to zero, then add the desired ingredient until you reach the desired weight.
Improper measuring can often lead to baking mistakes. Using too much flour can result in dry and dense baked goods, while too little can lead to a lack of structure. Similarly, inaccurate measurements of liquid ingredients can throw off the balance of a recipe and affect the texture and consistency of your final product.
“Measurements may seem trivial, but they can greatly impact the success of your baking endeavors. Take the time to measure ingredients properly, and you’ll be rewarded with consistently delicious results.”
By following proper measuring techniques and using the right tools, such as the spoon and level method, clear measuring cups, or a digital scale, you can avoid baking mishaps and ensure your baked goods turn out perfectly every time.
| Volume Measurements | Weight Measurements |
|---|---|
| 1 cup (c) | 120 grams (g) |
| 1 tablespoon (tbsp) | 15 grams (g) |
| 1 teaspoon (tsp) | 5 grams (g) |
| 1 fluid ounce (fl oz) | 30 milliliters (ml) |
Understanding how to measure ingredients properly is a fundamental skill in baking. Whether you opt for the spoon and level method or choose to weigh your ingredients, precision is key. By taking the time to measure accurately, you can avoid common baking mistakes and achieve consistently delicious results.
Invest in a Good Mixer
Investing in a good mixer can greatly enhance your baking experience. Whether you’re a seasoned baker or just starting out, having the right mixer can make a world of difference in achieving the perfect texture and consistency in your baked goods.
One popular choice among home bakers is the Kitchen-Aid mixer. Their 5-quart model is known for its versatility and durability, making it a reliable choice for any baking task. With its powerful motor and various attachments, this mixer can handle everything from mixing batter for cakes and cookies to kneading dough for breads and pastries. The Kitchen-Aid mixer is a staple in many kitchens and is often considered a go-to appliance for baking enthusiasts.
“Investing in a Kitchen-Aid mixer was a game-changer for me. It’s sturdy, powerful, and makes baking a breeze. I can’t imagine my kitchen without it!” – Rachel, avid home baker
If you’re looking for a more budget-friendly option or prefer a compact and portable mixer, an electric hand mixer is a great alternative. These handheld mixers are lightweight, easy to use, and perfect for smaller baking tasks. They allow you to mix ingredients quickly and efficiently without taking up too much space in your kitchen.
Comparison Table: Kitchen-Aid Mixer vs. Electric Hand Mixer
| Features | Kitchen-Aid Mixer | Electric Hand Mixer |
|---|---|---|
| Versatility | Wide range of attachments for different baking tasks | Suitable for smaller baking tasks |
| Capacity | 5-quart bowl capacity | Smaller bowl capacity, suitable for small to medium-sized recipes |
| Durability | Sturdy construction, designed for long-term use | Compact and portable, may have a shorter lifespan |
| Price | Higher price range | Lower price range |
Both the Kitchen-Aid mixer and electric hand mixer have their own advantages, so choose the one that best fits your baking needs and preferences. Whether you opt for the versatility and power of the Kitchen-Aid mixer or the convenience and affordability of an electric hand mixer, both options will surely elevate your baking game.
Use Room Temperature Ingredients
Many recipes call for room temperature ingredients, and it’s important to follow this instruction. Cold butter cannot be properly creamed, and cold eggs can curdle a batter. Leaving ingredients on the countertop overnight is the best way to bring them to room temperature, but if you forget, there are quick methods to use.
An easy way to bring cold eggs to room temperature is to run them under warm water for a few minutes. This gently warms them without cooking them. As for cold butter, you can microwave it in short intervals, flipping it over after each interval, until it reaches room temperature.
Remember, room temperature ingredients ensure proper consistency and texture in your baked goods. They incorporate evenly, resulting in a smoother batter and a more consistent rise.
| Egg Temperature | Butter Temperature | Batter Result |
|---|---|---|
| Cold | Cold | Curdled batter |
| Room Temperature | Cold | Smooth batter, even rise |
| Cold | Room Temperature | Lumpy batter, uneven rise |
| Room Temperature | Room Temperature | Smooth batter, consistent rise |
Check Your Oven Temperature
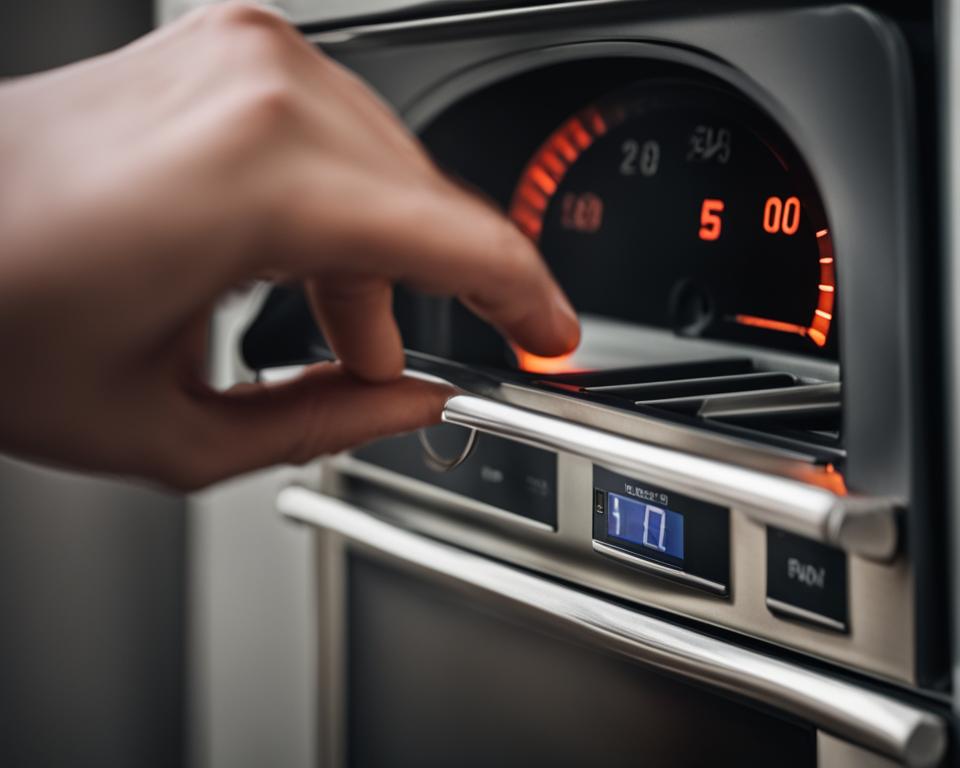
Ensuring that your oven temperature is accurate is a crucial step in achieving perfect baked goods. Periodically checking your oven’s temperature can help you avoid undercooking or overcooking your creations.
Opening the oven during baking can let cool air in and interrupt the baking process, leading to unevenly baked treats. It’s best to avoid peeking until the recommended cook time is up.
If you need to rotate pans for even baking, do it quickly to minimize heat loss and maintain the desired oven temperature.
Quick Tips for Checking Oven Temperature:
- Invest in an oven thermometer to accurately measure the temperature. Place it in the center of the oven to get an accurate reading.
- Preheat your oven for at least 10-15 minutes before placing your baked goods inside.
- Check the temperature at various intervals during the baking process to ensure consistency.
Remember, a well-calibrated oven is essential for successful baking. By monitoring and maintaining the oven temperature, you can achieve delicious and evenly baked treats.
| Common Oven Temperatures | Temperature |
|---|---|
| Very low oven | 200°F (95°C) |
| Low oven | 300°F (150°C) |
| Slow oven | 325°F (165°C) |
| Moderate oven | 350°F (180°C) |
| Moderately hot oven | 375°F (190°C) |
| Hot oven | 400°F (200°C) |
| Very hot oven | 450°F (230°C) |
Remember to adjust the cooking time and temperature based on the recipe and your specific oven. Happy baking!
Don’t Make Substitutions
Baking is a precise science, and making substitutions can have a significant impact on the outcome of your baked goods. While it’s tempting to make changes based on personal preferences or ingredient availability, certain key ingredients should not be substituted. All-purpose flour, sugar, butter, and eggs play crucial roles in the chemistry of a recipe, and altering these can result in undesirable results.
When it comes to flour, all-purpose flour is a versatile option that provides the right balance of protein for most baking recipes. Substituting it with alternative flours like whole wheat or almond flour can affect the structure and texture of your baked goods. It’s best to stick with the specified type of flour to achieve the desired results.
Sugar is not only a sweetener but also contributes to the texture and moisture in baking. Various forms of sugar like granulated, brown, and powdered have different properties, and their substitutions can affect the final product. Stick to the recommended sugar type in the recipe for optimal results.
Butter adds moisture, flavor, and richness to baked goods. Its unique composition and ability to incorporate air during creaming are crucial for achieving the desired texture and rise. Substituting butter with margarine, shortening, or oil can change the consistency and flavor of the final product. It’s best to use butter as specified in the recipe.
Eggs play multiple roles in baking, including providing structure, moisture, leavening, and emulsification. Replacing eggs with substitutes like applesauce, yogurt, or flax eggs can alter the texture, rise, and flavor of your baked goods. Unless the recipe specifically mentions egg alternatives, it’s advisable to use eggs as stated.
“Making substitutions in baking is like experimenting with the delicate balance of baking chemistry. Stick to the original recipe for consistent and delicious results.”
Minor Changes with Major Impact
While major substitutions are discouraged, minor changes can be made to add personal touches and flavors without compromising the overall chemistry of the recipe. Adding nuts, dried fruits, or chocolate chips can enhance the taste and texture of baked goods. Swapping citrus zest or using different extracts can offer unique flavor variations. These small modifications can make your baked treats even more enjoyable without affecting their core structure and consistency.
When it comes to baking, precision is key. Stick to the original ingredients unless the recipe provides alternatives specifically. By following the recipe closely and avoiding substitutions, you can enjoy consistently delicious and successful baking results.
| All-Purpose Flour | Sugar | Butter | Eggs |
|---|---|---|---|
| Key ingredient for structure and texture. | Adds sweetness, moisture, and affects texture. | Adds moisture, richness, and affects texture. | Plays multiple roles in structure, moisture, and leavening. |
| Substitution can affect bake | Substitution can affect sweetness and texture. | Substitution can alter consistency and flavor. | Substitution can alter texture, rise, and flavor. |
| Stick to all-purpose flour unless the recipe specifies alternatives. | Avoid substituting sugar unless the recipe provides specific alternatives. | Use butter as specified in the recipe. | Follow the recipe for the specified number of eggs. |
Use A Light Hand
When it comes to baking, one important principle to remember is to use a light hand. Overmixing can lead to unwanted gluten development, resulting in chewy or tough baked goods. To ensure tender cakes and muffins, it’s crucial to mix the batter only until it is uniform.
This principle is especially true for delicate baked goods like scones and biscuits. Overworking the dough can activate the gluten and compromise the flakiness that comes from cold, solid butter. So, resist the temptation to knead the dough too much and gently handle it instead.
By keeping a light touch, you’ll achieve that perfect balance of tenderness and flakiness that makes baked goods so irresistibly delicious.
| Benefits of Using a Light Hand in Baking: |
|---|
| 1. Preserves tenderness |
| 2. Maintains flakiness |
| 3. Avoids tough or chewy texture |
| 4. Achieves delicate and airy results |
“Using a light hand in baking is the secret to achieving tender and delicate baked goods. By avoiding overmixing and overworking the dough, you can preserve the desired texture and create irresistibly fluffy treats.”
Understand Leavening Agents
In the world of baking, leavening agents play a crucial role in creating those light and fluffy treats we all know and love. Two commonly used leavening agents are baking powder and baking soda. Understanding how they work and their activation requirements is key to achieving baking perfection.
Baking powder is a combination of baking soda, an acid, and a stabilizing agent. It is a convenient option, as it already contains the acidic ingredient needed for activation. When the baking powder is mixed with a liquid, carbon dioxide gas is released, causing the batter or dough to rise.
Baking soda, on the other hand, needs an acidic ingredient in the recipe to work its magic. When combined with an acid like buttermilk, yogurt, vinegar, or lemon juice, baking soda produces carbon dioxide gas, resulting in a rise in the baked goods.
Some recipes call for a combination of baking powder and baking soda to ensure the proper rise. This is especially common in recipes that contain acidic ingredients like chocolate, cocoa powder, or yogurt. The baking soda reacts with the acidic ingredient, while the baking powder provides an additional lift.
Here’s a breakdown of the key differences between baking powder and baking soda:
| Baking Powder | Baking Soda |
|---|---|
| Contains baking soda, acid, and stabilizing agent | Pure sodium bicarbonate |
| Requires liquid for activation | Requires an acidic ingredient for activation |
| Convenient option, already contains an acid | Needs an acidic ingredient in the recipe |
| Can be used alone in recipes without acidic ingredients | Requires an acidic ingredient in the recipe |
Understanding the activation requirements of these leavening agents will help you achieve the perfect rise and texture in your baked goods. It’s important to carefully follow the recipe instructions regarding the use of baking powder and baking soda to ensure baking success.
With this knowledge in hand, you’ll be equipped to confidently create beautifully risen cakes, tender muffins, and perfectly textured cookies. So go ahead, grab your apron and get ready to master the art of baking with these leavening agents!
Add Ingredients in Little Piles
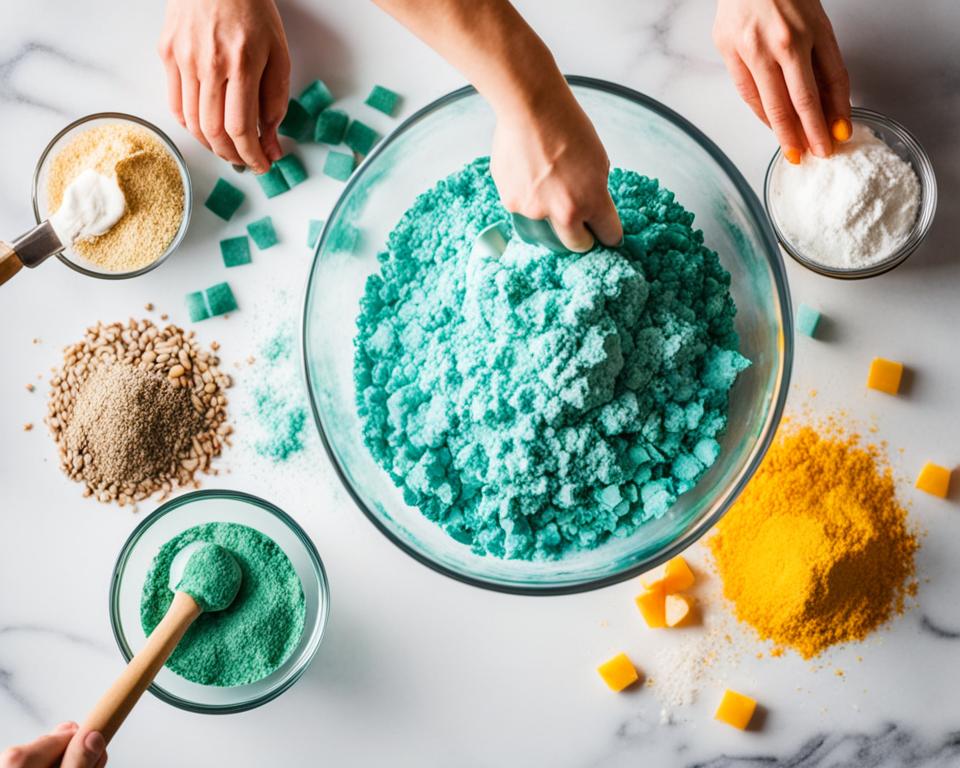
When it comes to organized baking, adding ingredients in little piles can be a game-changer. This simple technique is a visual aid that helps you keep track of what has been added to your batter. It’s particularly useful when multitasking in the kitchen, ensuring that you never miss a crucial ingredient.
By creating small piles of each ingredient before incorporating them into your batter, you can easily see which ones you’ve already added. This not only helps you stay organized but also prevents any missing or duplicated ingredients. Plus, it adds a sense of satisfaction as you gradually work your way through the piles.
Imagine preparing a cake batter where you need to add flour, sugar, baking powder, and salt. Instead of guessing if you’ve added everything, you can create small piles of each ingredient on your countertop. As you measure and add each ingredient, you can quickly glance at the piles to ensure nothing is missed.
This visual aid is especially helpful if you’re dealing with complex recipes that require precision. It minimizes the chances of accidentally skipping an ingredient while saving your time and effort from going back and forth to the recipe instructions.
Next time you’re in the kitchen, give this method a try. Embrace organized baking by adding ingredients in little piles and witness the difference it can make in your baking process.
“Adding ingredients in little piles before incorporating them into the batter can be a game-changer for organized baking. It’s a visual aid that helps you stay on track, ensuring all your ingredients are added correctly.”
Benefits of Adding Ingredients in Little Piles:
- Ensures all ingredients are included
- Minimizes the chances of skipping or duplicating ingredients
- Keeps you organized and focused
- Provides a visual aid to track progress
- Works well for complex recipes
Prepare Baking Pans Properly
Properly preparing baking pans is an essential step to ensure your baked goods turn out perfectly. Nobody wants their creations to stick to the pan or struggle with removing them. One effective method is using nonstick spray to coat the pan evenly, creating a barrier between the batter and the surface. Another option is to line the pans with parchment paper or silicone mats, preventing any sticking and allowing for easy removal.
When dealing with sticky ingredients like golden syrup or honey, greasing the measuring spoon can save you from a messy situation and prevent unnecessary waste. Simply coat the spoon with a thin layer of nonstick spray, and the sticky ingredient will slide right off, leaving you with accurate measurements and a clean spoon.
Storing brown sugar with a couple of marshmallows can work wonders in preventing it from hardening. The marshmallows act as moisture retainers, keeping the brown sugar soft and ready to use whenever you need it. Say goodbye to clumpy and unusable brown sugar!
Cooling cakes upside down on a cooling rack is a clever trick to achieve flat tops. This makes them easier to stack and frost, ensuring a professional-looking final presentation. It’s a simple yet effective technique that every baker should know.
Properly preparing your baking pans sets the foundation for successful baking. Whether it’s using nonstick spray, parchment paper, or silicone mats, these methods will help you achieve the best results every time. So don’t forget to take that extra step and make your baking experience hassle-free and enjoyable.
FAQ
What is the best way to measure dry ingredients?
The best way to measure dry ingredients is by using the spoon and level method. Scooping can lead to too much flour, resulting in baking mistakes and dry baked goods.
How should I measure liquid ingredients?
Liquid ingredients should be measured in clear measuring cups to ensure accuracy.
What is the most accurate way to measure ingredients?
Weighing ingredients is the most accurate method, but if you don’t have a digital scale, the spoon and level method for dry ingredients works well.
Should I invest in a stand mixer?
Investing in a good mixer can make your baking life easier. A 5-quart Kitchen-Aid mixer is a popular choice for its versatility and durability. An electric hand mixer is a good alternative if you don’t want to invest in a stand mixer.
Why are room temperature ingredients important in baking?
Room temperature ingredients are essential for successful baking. Cold butter cannot be properly creamed, and cold eggs can curdle a batter. It’s best to bring ingredients to room temperature before using them in a recipe.
How can I quickly bring ingredients to room temperature?
Leaving ingredients on the countertop overnight is the best way to bring them to room temperature. However, if you forget, you can try running eggs under warm water or microwaving butter in short intervals.
Why is checking oven temperature important?
Checking your oven temperature periodically ensures that it is accurate. Opening the oven during baking can let cool air in and interrupt the baking process, so it’s best to avoid peeking until the recommended cook time is up.
Can I make substitutions in baking recipes?
Baking is a precise science, and substitutions can affect the outcome of your baked goods. All-purpose flour, sugar, butter, and eggs are key ingredients that should not be substituted. Minor changes such as adding nuts or swapping citrus zest can be made without altering the chemistry of the recipe.
What happens if I overmix my batter?
Overmixing can lead to gluten development, resulting in chewy or tough baked goods. It’s important to mix only until the batter is uniform. This is especially true for tender cakes and muffins. In recipes that call for scones or biscuits, it’s advised not to overwork the dough to prevent gluten activation and maintain cold, solid butter for flakiness.
What are leavening agents?
Baking powder and baking soda are leavening agents used in many recipes. Baking soda requires acidic ingredients to activate, while baking powder only needs liquid. Some recipes call for both to ensure proper rise. It’s important to understand these leavening agents and their activation requirements.
How can I keep track of added ingredients in a recipe?
Adding ingredients in little piles before incorporating them into the batter can help keep track of what has been added. This visual aid can be helpful, especially when multitasking in the kitchen.
How can I prepare baking pans to prevent sticking?
Properly preparing baking pans can prevent sticking and ensure easy removal of baked goods. Using nonstick spray or lining pans with parchment paper or silicone mats are effective methods.

