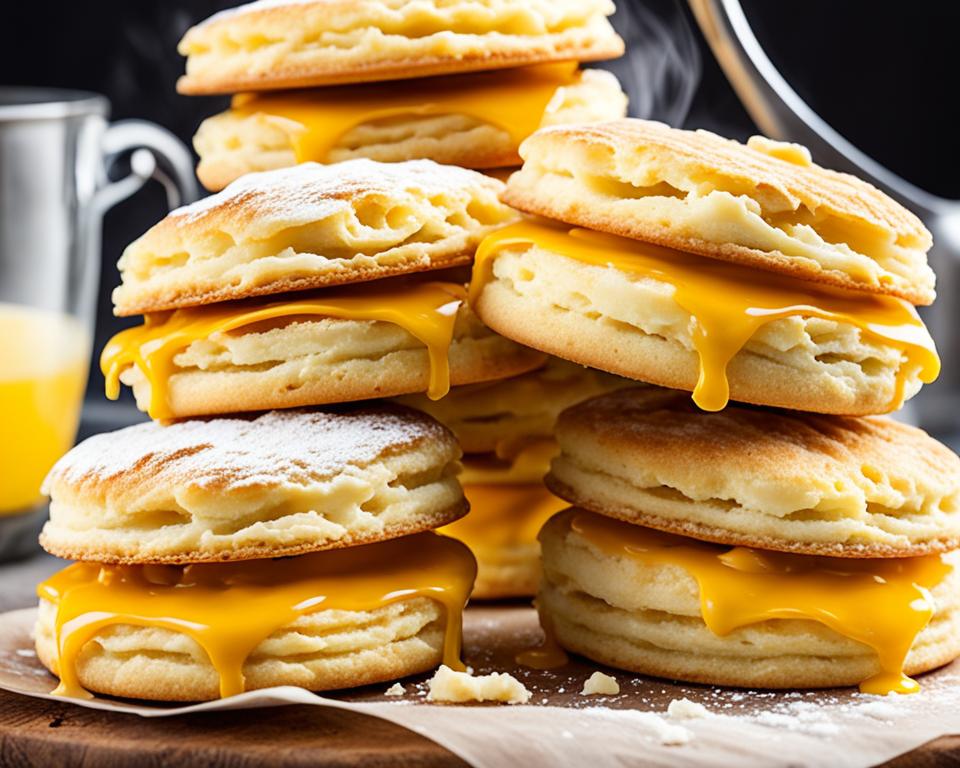
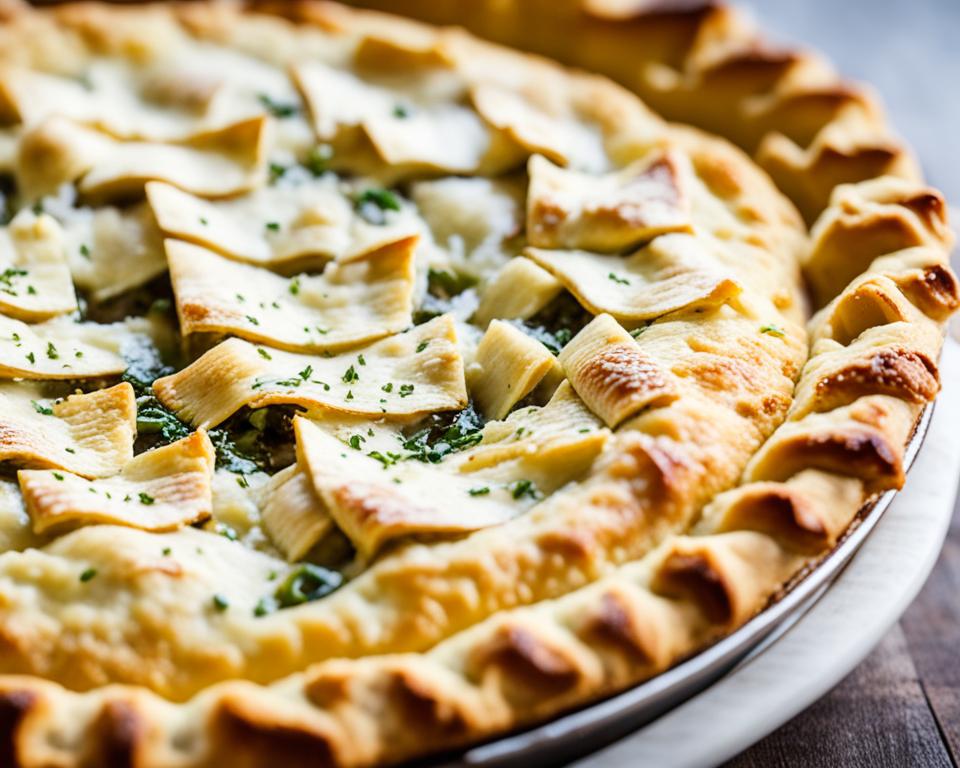
Welcome to our mouthwatering guide on how to make the perfect flaky butter biscuits at home. Whether you’re a seasoned baker or a beginner in the kitchen, our recipe will guide you through the process of creating irresistible homemade biscuits that are sure to impress. Get ready to enjoy the heavenly aroma and buttery goodness that will fill your kitchen!
Key Takeaways:
- Learn how to achieve flaky and fluffy homemade biscuits with simple ingredients.
- Bake your biscuits in a cast iron skillet for extra crispiness.
- Discover delicious serving suggestions for your buttery biscuits.
- Get tips on storage and reheating to enjoy them fresh for days.
- Understand the difference between biscuits and scones.
How to Make Flaky Butter Biscuits in a Cast Iron Skillet
To achieve perfectly flaky butter biscuits, the key lies in the biscuit dough preparation. Follow this simple recipe to create buttery, tender biscuits that will melt in your mouth.
Gather Your Ingredients
- Biscuit Dough Recipe: For this recipe, you will need:
- 2 cups all-purpose flour
- 1 tablespoon baking powder
- 1/2 teaspoon salt
- 1/2 cup unsalted butter, frozen
- 3/4 cup whole milk
Prepare the Biscuit Dough
To start, grate the frozen butter into the dry ingredients using a cheese grater. The frozen butter will create pockets of steam during baking, resulting in those sought-after flaky layers. Gently mix the butter into the flour until evenly distributed.
In a separate bowl, combine the milk and the dry ingredient mixture. Use a wooden spoon to mix until a dough forms. Be careful not to overmix; overworking the dough can lead to tough biscuits.
Dump the dough onto a floured surface and shape it into a circle. Avoid kneading the dough too much; a light touch will yield a tender biscuit. Use a large cookie cutter or biscuit cutter to cut out your biscuits.
| Tip: | For extra fluffiness, avoid twisting the cutter when cutting out the biscuits. This will help the biscuits rise evenly. |
|---|
Baking the Biscuits
Preheat your oven to 450F. Place the cut biscuits in a preheated cast iron skillet for a classic touch and extra crispiness. Bake for 18-20 minutes until golden brown.
Note: Baking time may vary depending on the size of the biscuits and your oven. Keep an eye on them to ensure they don’t overbake.
Enjoy Your Flaky Butter Biscuits
Once baked, the flaky butter biscuits are ready to be enjoyed. Serve them warm with butter, jam, or your favorite spread. These biscuits are perfect for breakfast, brunch, or as a delightful side for any meal.
Serving Suggestions for Butter Biscuits
After baking a batch of these flaky butter biscuits, it’s time to get creative with how you serve them. Whether you prefer sweet or savory flavors, there are plenty of delicious options to elevate your biscuit experience.
Sweet Treats
For a delightful breakfast treat, spread a generous amount of creamy salted butter on a warm butter biscuit. The creamy, salty flavor of the butter pairs perfectly with the fluffy texture and buttery taste of the biscuit. To add a burst of fruity sweetness, top your biscuit with a dollop of mixed berry jam. The combination of the tangy berries and the buttery biscuit will satisfy your sweet tooth.
Savory Delights
If you’re looking for a heartier option, butter biscuits can be a fantastic addition to a brunch spread. Serve them alongside scrambled eggs, savory sausage, crispy bacon, golden potatoes, and a refreshing fruit salad. The contrast of the savory dishes with the warm, flaky biscuits creates a well-balanced and satisfying meal.
For a truly savory experience, try creating biscuit sandwiches. Layer slices of flavorful ham, sharp cheddar cheese, and a dollop of zesty pepper jelly between two butter biscuits. The combination of salty, creamy, and tangy flavors will leave you craving more.
Endless Possibilities
As versatile as they are delicious, butter biscuits can be enjoyed in countless ways. Get creative with your toppings and fillings to suit your taste buds. Try adding honey, maple syrup, or even Nutella for extra sweetness. Alternatively, experiment with different types of cheese, spreads, or even crispy fried chicken for a savory twist. The options are only limited by your imagination.
| Top Sweet Pairings | Top Savory Pairings |
|---|---|
| Creamy salted butter | Scrambled eggs |
| Mixed berry jam | Savory sausage |
| Honey or maple syrup | Crispy bacon |
| Nutella or chocolate spread | Golden potatoes |
Whether you prefer a sweet or savory experience, serving butter biscuits is a delicious way to enjoy a comforting homemade treat. So, get creative, experiment with different flavors, and savor every bite.
Storage and Reheating Instructions for Butter Biscuits
After baking a batch of delicious, flaky butter biscuits, you may find yourself wondering how to store them properly and reheat them for later enjoyment. Follow these simple instructions to keep your biscuits fresh and warm:
Storage:
- Allow the baked biscuits to cool completely before storing them.
- Place the cooled biscuits in an airtight container to maintain their freshness.
- If storing at room temperature, your biscuits will remain delicious for 2-3 days.
- To extend their shelf life, you can store the biscuits in the refrigerator for up to a week.
Now that you know how to store your biscuits, let’s move on to reheating them for a warm and comforting treat.
Reheating:
To bring your biscuits back to their flaky, warm goodness, you can choose from several methods:
- Toaster Oven: Preheat your toaster oven to 350°F (175°C). Place the biscuits on a baking sheet and heat them for 5-7 minutes or until warm.
- Air Fryer: Preheat your air fryer to 350°F (175°C). Arrange the biscuits in a single layer in the air fryer basket and cook for 3-5 minutes or until heated through.
- Regular Oven: Preheat your oven to 350°F (175°C). Place the biscuits on a baking sheet and bake for 5-7 minutes or until warmed to your liking.
Choose the method that suits you best, and enjoy your reheated butter biscuits with a fresh cup of coffee or a dollop of your favorite jam.
Now that you know how to store and reheat your biscuits, you can always enjoy them warm and delicious, whether it’s for breakfast, brunch, or as a delightful snack.
Why Grating Butter is the Secret to Flaky Biscuits
When it comes to making flaky biscuits, the secret lies in the butter. Grating frozen butter using a cheese grater is a technique that can take your biscuits to the next level. By incorporating small, cold butter pieces throughout the dough, you ensure that every bite is light, tender, and full of buttery goodness. The grated butter disperses evenly, creating pockets of flakiness that melt in your mouth.
The process of grating butter has several advantages. First, using frozen butter allows it to stay solid during the mixing process, rather than melting too quickly. This is important because the cold butter creates steam as it bakes, resulting in those coveted flaky layers. Second, grating the butter ensures that it is distributed evenly throughout the dough, preventing any clumps and ensuring consistent texture in every bite.
“By incorporating small, cold butter pieces throughout the dough, you ensure that every bite is light, tender, and full of buttery goodness.”
If you don’t have a cheese grater, don’t worry! You can achieve similar results by cutting the butter into small cubes with a sharp knife. The key is to work quickly and make sure the butter stays as cold as possible. The smaller the butter pieces, the easier it is to incorporate them into the dough, resulting in a more uniform and flaky texture.
So, the next time you’re making biscuits, don’t skip the step of grating your butter. It may seem like a small detail, but it can make a world of difference in the final result. Your biscuits will be light, flaky, and absolutely irresistible.
Tips for Grating Butter:
- Freeze the butter for at least 30 minutes before grating.
- Use a coarse cheese grater for larger butter flakes or a fine grater for smaller, more evenly distributed pieces.
- Grate the butter directly into the dry ingredients to incorporate it quickly and efficiently.
- If the butter starts to melt as you grate, return it to the freezer for a few minutes before continuing.
- Work with confidence and speed to keep the butter as cold as possible.
| Advantages of Grating Butter for Biscuits | Benefits |
|---|---|
| Even distribution of butter | Consistent texture and flavor in every bite |
| Prevents clumps of butter | Uniform flakiness throughout the biscuit |
| Allows for quick incorporation | Efficient mixing and easy handling of the dough |
| Maintains the butter’s cold temperature | Steam creation for flaky layers during baking |
Using Baking Powder for Fluffy Biscuits
Baking powder is a key ingredient in this butter biscuit recipe that helps achieve a quick and fluffy rise. When combined with cold grated butter, it creates the perfect texture for your biscuits. Here’s how to use baking powder to make your biscuits light and airy:
- Step 1: Start by mixing all-purpose flour, sugar, salt, and baking powder in a bowl.
- Step 2: Grate frozen butter and add it to the dry ingredients. Using a cheese grater ensures the butter is evenly distributed throughout the dough.
- Step 3: Gently mix the grated butter into the dry ingredients until the mixture resembles coarse crumbs.
- Step 4: Gradually add cold milk to the mixture, stirring just until the dough comes together. Be careful not to overmix, as this can result in tough biscuits.
- Step 5: Once the dough is formed, turn it out onto a floured surface and gently knead it a few times to ensure all the ingredients are fully incorporated.
Remember, the secret to fluffy biscuits is to handle the dough as little as possible. Overworking the dough can lead to dense and tough biscuits. So, keep it crumbly and light for the best results.
Expert Tip
To ensure your biscuits rise properly, make sure your baking powder is fresh. Expired baking powder loses its effectiveness, resulting in flat biscuits. Check the expiration date on your baking powder before using it in your recipe.
Now that you have the dough ready, you can proceed to cut out your biscuit shapes and bake them to perfection. But before we move on, take a moment to appreciate this mouthwatering image of fluffy biscuits:
The Essential Ingredients for Butter Biscuits
When it comes to making delicious butter biscuits from scratch, having the right ingredients is essential. By using simple pantry staples, you can create a batch of flaky and buttery biscuits that will melt in your mouth.
Gather the following essential biscuit ingredients:
- All-Purpose Flour: 2 cups
- Sugar: 1 tablespoon
- Baking Powder: 1 tablespoon
- Salt: 1 teaspoon
- Salted Butter: ½ cup (frozen and grated)
- Whole Milk: ¾ cup
With these ingredients on hand, you’re well-equipped to create the perfect biscuit dough for baking.
Tip: For an extra touch of flavor, you can also add a pinch of your favorite herbs or spices, such as rosemary or garlic powder, to the dough.
To help you visualize the biscuit ingredients, take a look at the table below:
| Ingredients | Measurements |
|---|---|
| All-Purpose Flour | 2 cups |
| Sugar | 1 tablespoon |
| Baking Powder | 1 tablespoon |
| Salt | 1 teaspoon |
| Salted Butter | ½ cup (frozen and grated) |
| Whole Milk | ¾ cup |
Now that you have a clear understanding of the essential ingredients for butter biscuits, you’re ready to embark on your biscuit-making journey. Let’s dive into the recipe and enjoy the flaky goodness!
Tips for Making Perfect Biscuits
Creating the perfect batch of biscuits requires some key tips and techniques. By following these steps, you’ll be well on your way to baking biscuits that are flaky, buttery, and absolutely delicious. Here are some essential tips for making perfect biscuits:
- Keep the butter cold: Cold butter is essential for achieving flaky biscuits. Use a pastry cutter or grate frozen butter into the dry ingredients to ensure it incorporates evenly.
- Handle the dough minimally: Overworking the dough can lead to tough biscuits. Mix the ingredients until just combined and avoid excessive kneading.
- Cut the biscuits without twisting: When cutting out your biscuits, be sure to use a sharp cookie cutter or biscuit cutter and press straight down. Avoid twisting the cutter, as this can seal the edges and prevent the biscuits from rising properly.
- Generously flour your surface: Prevent sticking by generously flouring your work surface. This will make it easier to handle the dough and cut out the biscuits.
By following these tips, you’ll be able to create biscuits that are tender, flaky, and simply irresistible. Now, let’s move on to learn about the differences between biscuits and scones in the next section.
Expert Tip:
For an extra indulgent twist, brush the tops of your biscuits with melted butter before baking. This will give them a beautiful golden color and a rich buttery flavor.
The Difference Between Biscuits and Scones
While biscuits and scones may appear similar, there are some key differences. Biscuits are flakey, fluffy, and buttery, while scones are denser and sweeter. The ingredients and preparation methods also vary between the two.
Biscuits typically use all-purpose flour, sugar, baking powder, salt, salted butter, and whole milk. The combination of these simple ingredients creates a tender texture with a subtle flakiness. Biscuits are often served as a savory side dish or as a base for dishes like biscuits and gravy.
Scones, on the other hand, have a sweeter flavor profile and a more dense texture. They typically contain all-purpose flour, sugar, baking powder, salt, unsalted butter, eggs, and heavy cream. The addition of eggs and cream gives scones their richness and moistness. Scones are often enjoyed for breakfast or as a tea-time treat, served with clotted cream and jam.
In Australia, biscuits are known as scones and pronounced as “scons.”
The Differences Between Biscuits and Scones:
| Biscuits | Scones |
|---|---|
| Flakey, fluffy, and buttery | Dense and sweeter |
| All-purpose flour | All-purpose flour |
| Sugar | Sugar |
| Baking powder | Baking powder |
| Salt | Salt |
| Salted butter | Unsalted butter |
| Whole milk | Eggs and heavy cream |
| Often served as a side dish or base for savory dishes | Enjoyed for breakfast or as a tea-time treat |
Understanding the difference between biscuits and scones allows you to appreciate the unique qualities of each. Whether you prefer the flaky and buttery goodness of biscuits or the dense and sweet indulgence of scones, there’s no denying that both have a special place in the world of baked goods.
Personal Story and Emotional Connection to Biscuits
Let me share with you a personal story that highlights the deep emotional connection I have with biscuits. These delightful treats have always held a special place in my heart and never fail to bring back cherished memories of home and family.
One memory that stands out vividly is the aroma of freshly baked biscuits wafting through our kitchen on lazy Sunday mornings. My mother, a talented baker, would effortlessly whip up batches of flaky biscuits that would leave our taste buds dancing with joy. As a child, I always looked forward to these comforting breakfasts, savoring each bite and relishing the love that went into making them.
The emotional connection I have with biscuits extends beyond childhood nostalgia. Baking biscuits has become a way for me to connect with my roots and overcome homesickness. Whenever I find myself missing home or craving a taste of comfort, I turn to my trusty biscuit recipe. The process of kneading the dough, cutting out perfect circles, and watching them rise in the oven gives me a sense of peace and solace. And when I take that first bite, the warm, buttery goodness fills my heart with warmth and joy.
“Baking is a way of creating beautiful, edible memories.”
– Unknown
Biscuits are more than just a baked good for me; they are a connection to my past, a source of comfort, and a way to nurture my soul. The simplicity of their ingredients and the versatility in serving them make them a timeless favorite for many, including myself.
Through biscuits, I have formed cherished memories, celebrated milestones, and connected with loved ones. Whether it’s enjoying a biscuit spread with creamy butter and homemade jam, or savoring them alongside a steaming cup of tea, these moments bring me back to the love and warmth of home.
So next time you bake a batch of biscuits, take a moment to savor the experience. Let the aroma fill your kitchen, indulge in that first bite, and allow yourself to be transported to a place of comfort and nostalgia. Embrace the personal connection that biscuits can bring and create your own beautiful memories.
A Personal Recipe for Butter Biscuits
Here’s a simple recipe for butter biscuits that never fails to evoke those familiar feelings of home:
- 2 cups all-purpose flour
- 1 tablespoon baking powder
- 1/2 teaspoon salt
- 1/2 cup cold unsalted butter, grated
- 3/4 cup milk
Instructions:
- In a large mixing bowl, whisk together the flour, baking powder, and salt.
- Add the grated butter to the dry ingredients and mix gently until the mixture resembles coarse crumbs.
- Pour in the milk and stir until a soft dough forms.
- Turn the dough onto a floured surface and gently knead it a few times until it comes together.
- Using a biscuit cutter or a drinking glass, cut out biscuits and place them on a baking sheet lined with parchment paper.
- Bake in a preheated oven at 425°F (220°C) for 12-15 minutes, or until golden brown.
- Allow the biscuits to cool slightly before serving. Enjoy!
Please note that this recipe can be easily adapted to suit your preferences. You can add grated cheese, herbs, or even a touch of sugar to create a variation that speaks to your personal taste.
| Biscuit Variation | Description |
|---|---|
| Savory Cheddar Biscuits | Add 1 cup of grated cheddar cheese to the dry ingredients and proceed with the recipe as directed. These biscuits pair perfectly with soups and stews. |
| Sweet Cinnamon Sugar Biscuits | Incorporate 2 tablespoons of sugar and 1 teaspoon of cinnamon into the dry ingredients. Serve these biscuits warm with a dusting of powdered sugar. |
| Herbed Biscuits | Mix in 1 tablespoon of your favorite herbs, such as rosemary or thyme, to the dry ingredients. These biscuits are fantastic alongside roasted meats or as a standalone snack. |
Remember, the magic of biscuits lies not only in their taste but also in the memories and emotions they invoke. So bake with love, savor each bite, and make your own personal connection to these delightful treats.
Foolproof No-Fail Biscuit Recipe
Are you ready to embark on a biscuit-making adventure? Look no further than this foolproof biscuit recipe that guarantees delicious, homemade biscuits every time. Whether you’re a seasoned baker or new to the kitchen, this recipe is perfect for anyone looking to master the art of biscuit-making.
Made with simple ingredients and easy-to-follow steps, these biscuits are sure to impress both friends and family. The secret to their perfection lies in a few key techniques that ensure tall, fluffy, and buttery results.
Step-by-Step Instructions
- In a large mixing bowl, combine 2 cups of all-purpose flour, 1 tablespoon of baking powder, 1 teaspoon of sugar, and a pinch of salt. Mix well.
- Using a cheese grater, grate ½ cup of cold butter into the dry ingredients. Gently mix until the butter is evenly distributed, creating small pockets throughout the dough.
- Pour in ¾ cup of cold milk and stir with a wooden spoon until just combined. Be careful not to overmix the dough, as this can result in tough biscuits.
- Transfer the dough onto a floured surface and knead it gently a few times until it comes together. Pat the dough into a ¾-inch thick rectangle.
- Using a biscuit cutter, cut out the biscuits and place them on a baking sheet lined with parchment paper.
- Bake the biscuits in a preheated oven at 450°F for 12-15 minutes or until golden brown.
- Remove from the oven and let them cool for a few minutes before serving.
And there you have it – foolproof homemade biscuits that will make your taste buds sing! These biscuits are perfect for breakfast, brunch, or as a side dish to any meal.
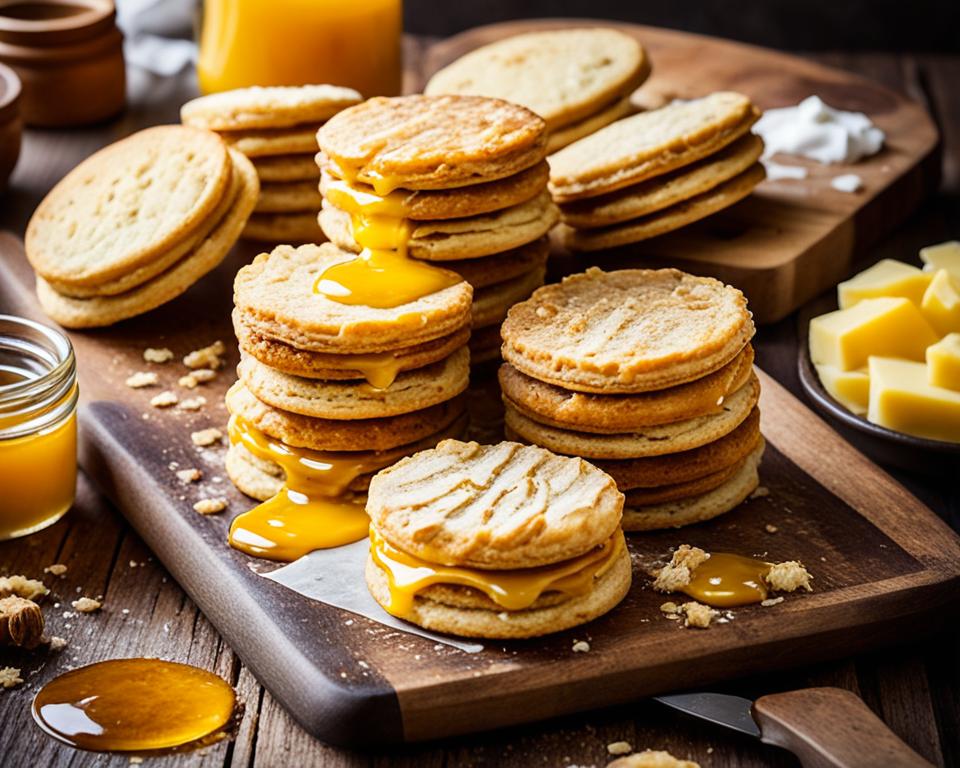
“These biscuits never fail to impress my guests. The combination of flakiness and buttery goodness is irresistible!” – Sarah, biscuit lover
Whether you enjoy them with a spread of butter and jam, or use them as a delicious base for a breakfast sandwich, these biscuits are guaranteed to delight. So roll up your sleeves, grab your apron, and get ready to bake a batch of these amazing homemade biscuits!
Conclusion
In conclusion, making flaky butter biscuits at home is achievable with the right recipe and techniques. By following the steps outlined in this article, you can create these delicious treats that are perfect for breakfast, brunch, or any time you want a comforting treat.
Whether you choose to bake them in a cast iron skillet for an extra crispy crust or cut them into squares for a classic look, these biscuits will surely satisfy your cravings. Enjoy the rich buttery flavors and the flaky layers that come together to create a delightful texture.
Experiment with different spreads and fillings to elevate your biscuit experience. Whether you prefer salted butter and mixed berry jam for a sweet and tangy combination or ham, cheddar, and pepper jelly for a savory twist, there are endless possibilities to explore.
As you take a bite of these homemade flaky butter biscuits, cherish the memories they evoke and the sense of nostalgia they bring. Share them with your loved ones and create new traditions that center around the comfort and joy these biscuits can provide. With this recipe in hand, you can confidently bake and enjoy these delicious butter biscuits time and time again.
FAQ
How do I make flaky butter biscuits from scratch?
To make flaky butter biscuits, grate frozen butter into the dry ingredients using a cheese grater. Gently mix the butter into the flour until evenly distributed. Add milk and mix with a wooden spoon, being careful not to overmix the dough. Dump the dough onto a floured surface and press it into a circle. Cut out biscuits using a large cookie cutter or biscuit cutter. Place the biscuits in a cast iron skillet and bake them in the oven at 450F for 18-20 minutes.
What can I serve with butter biscuits?
You can serve butter biscuits with creamy salted butter and mixed berry jam for a sweet breakfast treat. They are also great to serve as part of a brunch spread with scrambled eggs, sausage, bacon, potatoes, and fruit salad. For a savory option, create biscuit sandwiches with ham, cheddar, and pepper jelly. The options are endless!
How should I store and reheat butter biscuits?
Allow the baked biscuits to cool completely before storing them in an airtight container. At room temperature, they can last for 2-3 days, or up to a week in the fridge. When you’re ready to eat them, simply reheat them in a toaster oven, air fryer, or regular oven until warm.
Why should I grate the butter for flaky biscuits?
Grating frozen butter using a cheese grater helps to incorporate small, cold butter pieces throughout the dough. This is essential for achieving flaky biscuits. If you don’t have a cheese grater, you can also cut the butter into small cubes with a sharp knife.
Why do I need baking powder for fluffy biscuits?
This butter biscuit recipe uses baking powder to achieve a quick and fluffy rise. The combination of baking powder and cold grated butter creates the perfect texture for your biscuits. Be sure not to overmix the dough to maintain its crumbly consistency.
What are the essential ingredients for making butter biscuits?
The essential ingredients for making butter biscuits include all-purpose flour, sugar, baking powder, salt, salted butter, and whole milk. These simple pantry staples come together to create a delicious, flaky biscuit dough.
What are some tips for making perfect biscuits?
The key to making perfect biscuits is using cold butter and handling the dough as little as possible to keep the butter cold. Use a pastry cutter or grate the frozen butter to incorporate it into the dry ingredients. Be sure not to twist when cutting out the biscuits to allow for maximum rise. Flour your surface generously to prevent sticking, and knead the dough gently to avoid overworking it.
What is the difference between biscuits and scones?
While biscuits and scones may appear similar, there are some key differences. Biscuits are flaky, fluffy, and buttery, while scones are denser and sweeter. The ingredients and preparation methods also vary between the two. In Australia, biscuits are known as scones and pronounced as “scons.”
Is there a personal story or emotional connection to biscuits?
Yes, the author shares a personal story about her love for biscuits and how they remind her of home. The taste of a blueberry pie brings back memories of family and childhood. Cooking these comfort foods helps to alleviate homesickness and create a sense of nostalgia and connection.
Do you have a foolproof biscuit recipe?
Yes, the author shares a foolproof biscuit recipe that is easy to follow and guarantees delicious results. The recipe includes step-by-step instructions and tips for achieving tall, fluffy, and buttery biscuits. The key is using cold butter, handling the dough minimally, and baking at a high temperature.

