Baking can be a delightful and rewarding experience, but it can also seem overwhelming, especially for beginners. However, with the right tips and tricks, anyone can dive into the world of baking with confidence. In this article, we’ll explore some easy baking hacks that will help you get started on your baking journey.
Key Takeaways:
- Reading the recipe backward can help you stay organized and prevent mistakes.
- Crack eggs with conviction to avoid shell fragments in your batter.
- Use olive oil to make measuring sticky ingredients a breeze.
- Opt for unsalted butter to maintain control over the flavors in your baked goods.
- Room temperature eggs contribute to fluffier cakes.
Read the Recipe Backward for Foolproof Baking
Tackling a recipe can be overwhelming, but there’s a simple and effective trick that professional bakers swear by: reading the recipe backward. This systematic approach ensures that you don’t miss any crucial steps along the way, leading to foolproof baking every time.
Start by identifying the final step of the recipe, whether it’s baking the dish or preparing the final garnish. Then, work your way backward, going step by step in reverse order. This method helps you gather all the necessary equipment, preheat the oven, and accurately measure your ingredients in a well-organized manner.
By reading the recipe backward, you allow yourself to mentally prepare and visualize the entire baking process before you even start. This way, you can avoid any last-minute surprises or missing important steps. It’s like having a roadmap that guides you through each stage with precision and confidence.
Benefits of the Systematic Approach
The systematic approach to baking offers several advantages:
- You gather all the necessary equipment before starting, preventing interruptions and ensuring a smooth baking experience.
- You can preheat the oven to the correct temperature at the right time, eliminating the risk of forgetting this crucial step.
- Accurate ingredient measurement becomes easier as you gather them in the order they appear in the recipe, reducing the chances of missing or misplacing any ingredient.
Professional bakers recommend this foolproof method as it reduces stress and promotes a sense of organization in the kitchen. It allows you to focus on each task at hand, giving you the best chance to create delicious baked goods with precision and ease.
<!–
| Baking Hack | Benefits |
|---|---|
| Read the Recipe Backward | – Ensures no steps are missed – Maintains organization and focus – Reduces stress and promotes efficiency |
–>
Try incorporating the systematic approach to baking by reading the recipe backward and see how it transforms your baking experience. This simple yet powerful technique will help you become a more confident and successful baker.
Crack Eggs with Conviction for Shell-Free Batters
When it comes to baking, ensuring your batter is free from eggshell fragments is crucial for a smooth and enjoyable outcome. To achieve shell-free batters, it’s essential to crack your eggs with conviction.
Why crack eggs with conviction? Lightly tapping the eggshell can cause it to shatter into tiny fragments, making it difficult to remove completely. When you crack your eggs with confidence, you’ll have a cleaner crack, minimizing the chances of any unwanted shell pieces finding their way into your batter.
If by chance, you do end up with tiny shell bits in your cracked eggs, there’s no need to worry. There are simple ways to remove them without compromising your batter’s integrity.
Method 1: Use a wet finger to gently scoop out the shell bits. The slight moisture helps the shell adhere to your finger, making it easier to remove without breaking the yolk or further contaminating the batter.
Method 2: Alternatively, you can use half of the eggshell to scoop out any stray fragments. Carefully slide the curved edge of the shell against the shell bits, allowing them to stick to it before lifting them out of the bowl.
By adopting the practice of cracking eggs with conviction, you’ll have greater control over your batter’s quality, leaving no room for unwanted shell fragments. So next time you’re in the kitchen, channel your inner confidence and crack those eggs with conviction!
Use Olive Oil to Measure Sticky Ingredients with Ease
Measuring sticky ingredients like honey, maple syrup, and molasses accurately can be a messy and frustrating task. However, there’s a simple trick that can make this process a breeze. By using olive oil to coat your measuring instruments, you can easily scoop out sticky ingredients without any hassle.
Here’s how you can do it:
- Lightly coat your measuring spoon or cup with a thin layer of olive oil.
- Scoop the sticky ingredient into the oiled measuring instrument.
- Watch in amazement as the ingredient effortlessly slides out, leaving no residue behind.
Not only does this method make measuring sticky ingredients easier, but it also saves you time and prevents unnecessary waste. No more struggling to scrape every last drop or dealing with sticky residue that clings to your measuring tools.
Additionally, if you find any residue or sticky spots on your measuring spoon or cup after scooping, you can use a paper towel moistened with a little olive oil to wipe it clean. This ensures that your next measurement is accurate and free from any remnants of the sticky ingredient.
Using olive oil to measure sticky ingredients is a game-changer in the kitchen. It simplifies the process, prevents waste, and ensures precise measurements for your recipes.
So the next time you encounter sticky ingredients in your baking adventures, reach for the olive oil and measure with ease!
Importance of Unsalted Butter in Baked Goods
When it comes to creating delicious baked goods, the choice of butter can have a significant impact on the final result. Using unsalted butter is essential, especially in cakes and other delicate desserts. Let’s dive deeper into why unsalted butter is the preferred choice for bakers everywhere.
When you use salted butter in your recipes, you introduce an additional variable that can alter the chemistry of your baked goods. The salt content within salted butter is inconsistent across different brands and batches, making it challenging to control the overall taste of your creations.
With unsalted butter, you have complete control over the salt content in your recipes. You can add salt separately, ensuring that you achieve the perfect balance of flavors in your batter or dough. This precision allows you to create desserts with delicate, nuanced tastes that are not overpowered by a generic saltiness.
Unsalted butter is especially crucial in cake baking, where delicate flavors need to shine. By using unsalted butter, you preserve the subtleties of ingredients like vanilla, chocolate, or fruit, allowing them to take center stage in each bite. The result is a cake that is moist, tender, and bursting with flavor.
So, the next time you embark on a baking adventure, reach for unsalted butter. Your taste buds will thank you for the nuanced flavors, and your baked goods will achieve the perfect balance of taste and texture.
The impact of salted butter on recipes
The use of salted butter in recipes can significantly alter the taste and overall experience of your baked goods. While salt can enhance flavors in certain dishes, it can overpower delicate flavors in desserts.
By using unsalted butter and adding salt separately, you have more control over the salt content in your recipes. This control allows you to tailor the taste to your preferences and ensure that other ingredients shine through.
The delicate flavors in batter
Batter, whether it’s for cakes, muffins, or cookies, contains a delicate balance of ingredients. The flavors in this mixture should complement each other, creating a harmonious taste profile.
When you use unsalted butter, you preserve the delicate flavors already present in the batter. Each ingredient can be appreciated for its unique contribution, resulting in a more enjoyable eating experience.
| Flavor Impact | ||
|---|---|---|
| Butter Type | Positive Impact | Negative Impact |
| Salted Butter | Enhances savory dishes | Overpowers delicate flavors in desserts |
| Unsalted Butter | Preserves delicate flavors | No negative impact |
Using unsalted butter in your baked goods allows you to create desserts with a more subtle and nuanced taste. The delicate flavors in your batter will shine through, resulting in a memorable and enjoyable culinary experience.
Room Temperature Eggs for Fluffier Cakes
When it comes to baking fluffy cakes, one simple yet often overlooked step can make all the difference: using room temperature eggs. By allowing your eggs to come to room temperature before incorporating them into your batter, you can achieve a better rise and a lighter texture in your desserts.
Room-temperature eggs blend more smoothly with other ingredients, ensuring a more even distribution throughout the batter. This results in a cake that is not only fluffier but also more evenly risen, creating a visually appealing and delicious treat.
To incorporate this technique into your baking routine, simply take your eggs out of the refrigerator and let them sit at room temperature for about 30 minutes before cracking them into your batter. This small adjustment can have a significant impact on the final outcome of your cakes.
| Benefits of Using Room Temperature Eggs | Guidelines for Room Temperature Eggs |
|---|---|
| Easier incorporation into the batter | Allow eggs to sit at room temperature for around 30 minutes |
| Improved rise and texture in cakes | Keep eggs in a dry place to prevent moisture accumulation |
| Even distribution of ingredients | Use an egg separator if needed to achieve the desired temperature |
By following this simple step, you can take your baking to a new level, creating cakes that are not only visually appealing but also incredibly moist and fluffy. Room temperature eggs are a secret weapon in achieving bakery-quality results in your desserts.
Salt on the Bottom of Cookies for Enhanced Flavors
While many recipes call for a light sprinkling of salt on the top of cookies before baking, professional bakers recommend trying something different. By sprinkling salt on the bottom of your cookies instead, you allow the salt to interact with the dough before baking and bring out the other flavors. This adds a unique twist to your cookies and provides a more balanced taste.
How Salting Cookies Enhances Flavors
When you sprinkle salt on the bottom of your cookies, it creates a direct interaction between the salt and the cookie dough. The salt dissolves slightly as the dough bakes, allowing it to permeate and enhance the flavors from within. This method provides a more uniform distribution of salt throughout the cookie, resulting in a more balanced and flavorful bite.
“Adding salt to the bottom of cookies adds a subtle depth of flavor that elevates the entire cookie. It’s a small trick that can make a big difference in taste.” – Sarah Johnson, Professional Baker
Additionally, salting the bottom of cookies can create a contrast in flavors. The slight saltiness at the base complements the sweetness of the cookie, creating a harmonious balance that pleases the palate. It’s a simple technique that can transform your cookies into a gourmet treat.
How to Salt Cookies on the Bottom
- Prepare your cookie dough according to the recipe.
- Roll the dough into balls or drop spoonfuls onto a baking sheet.
- Misten the bottom of a clean spoon with water to create a slightly damp surface.
- Dip the damp spoon into a small amount of salt.
- Press the spoon gently onto the bottom of each cookie dough ball, transferring a small amount of salt onto each cookie.
- Bake the cookies as directed in the recipe.
By following these simple steps, you can enjoy cookies with enhanced flavors and a delightful balance of sweetness and saltiness in every bite.
Damp Kitchen Towels for Even Cake Layers
Achieving even cake layers can be a challenge, but with a simple pre-oven hack, you can ensure perfectly leveled cakes every time.
To achieve this, start by soaking tea towels in water and wringing them out until they are damp. Then, wrap these damp towels securely around the outside of your cake pans.
The damp towels act as insulation, creating a more even heat distribution during baking. This results in cake layers that rise uniformly and bake to the same height. As a result, you won’t need to level your cakes afterward, saving you valuable time and effort.
If you don’t have tea towels on hand, you can also use reusable cake strips, which are designed specifically for this purpose. These strips, made from heat-resistant fabric, achieve the same effect by insulating your cake pans and promoting even baking.
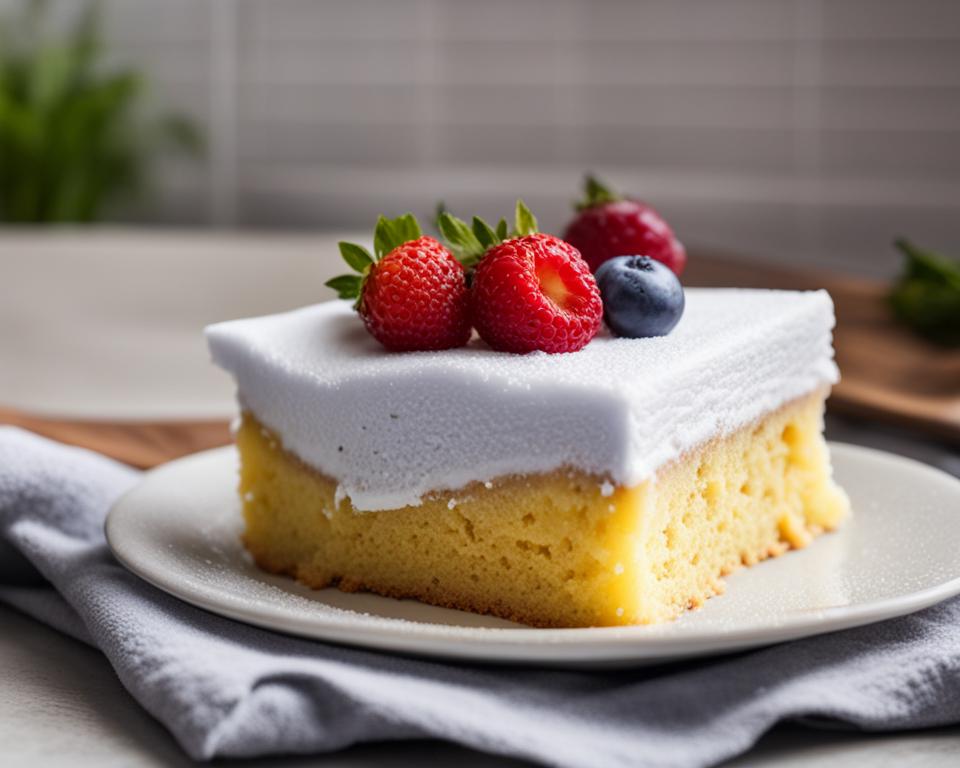
So, whether you choose to use damp kitchen towels or cake strips, both of these pre-oven hacks will help you create beautifully even cake layers. Say goodbye to lopsided cakes and hello to picture-perfect desserts!
Keep Mixing Bowl Steady with a Nest of Towels
Whisking batter can be frustrating when your mixing bowl keeps wobbling on the counter. To keep it steady, roll a damp kitchen towel into a long tube shape and curl it into a tight circle, creating a nest for the bowl to sit snugly. This simple trick ensures your bowl stays in place while you mix, making the process much smoother.
When you’re whisking batter or mixing ingredients for your favorite recipe, a stable mixing bowl is essential for a hassle-free experience. The last thing you want is a bowl that wobbles on the counter, causing spills and frustration. Fortunately, there’s a simple solution to keep your mixing bowl steady and prevent it from wobbling.
To stabilize your mixing bowl, you’ll need a damp kitchen towel. Here’s how you can do it:
- Take a clean kitchen towel and dampen it with water. Make sure it’s not soaking wet, just slightly damp.
- Roll the towel from one short end to the other, creating a long tube shape.
- Curl the towel tube into a tight circle, forming a nest or cushion for your mixing bowl.
- Place the bowl in the center of the towel nest, ensuring it is sitting securely.
This towel nest will provide stability and prevent your mixing bowl from moving or wobbling while you mix your ingredients. It acts as a cushion, keeping the bowl firmly in place. You can confidently whisk, beat, or stir without worrying about spills or the bowl sliding around.
This hack is especially useful when you’re working with larger bowls or mixing heavy batters. It’s a simple yet effective way to ensure a smooth and efficient baking or cooking process. Say goodbye to the frustration of a wobbly bowl and enjoy a more enjoyable and productive time in the kitchen.
Iced Countertops for Easy Pie Dough Rolling
Rolling out pie dough can sometimes be a challenging endeavor, especially when it sticks to your countertops. However, there’s a simple and effective solution to prevent any sticking issues and ensure smooth pie crusts: icing your countertops.
To create an ideal surface for rolling out your dough, all you need are gallon zip-top bags, ice cubes, and a little cold water. Follow these steps:
- Fill the gallon zip-top bags with ice cubes, leaving some room at the top.
- Add a splash of cold water to each bag, ensuring the ice cubes are slightly submerged.
- Seal the bags tightly to prevent any leakage.
- Place the bags on your countertop and spread them out evenly.
The ice cubes and cold water in the bags will lower the temperature of your countertops, creating a cool surface that prevents the pie dough from sticking. This will make it easier to handle and roll out the dough while maintaining its desired shape.
Remember to give yourself enough space on the countertop for smooth and unrestricted rolling. If necessary, move any unnecessary items aside to create a clear workspace.
With your iced countertops, you can confidently roll out your pie dough without worrying about it sticking or tearing. This simple hack ensures that your crusts come out perfectly every time.
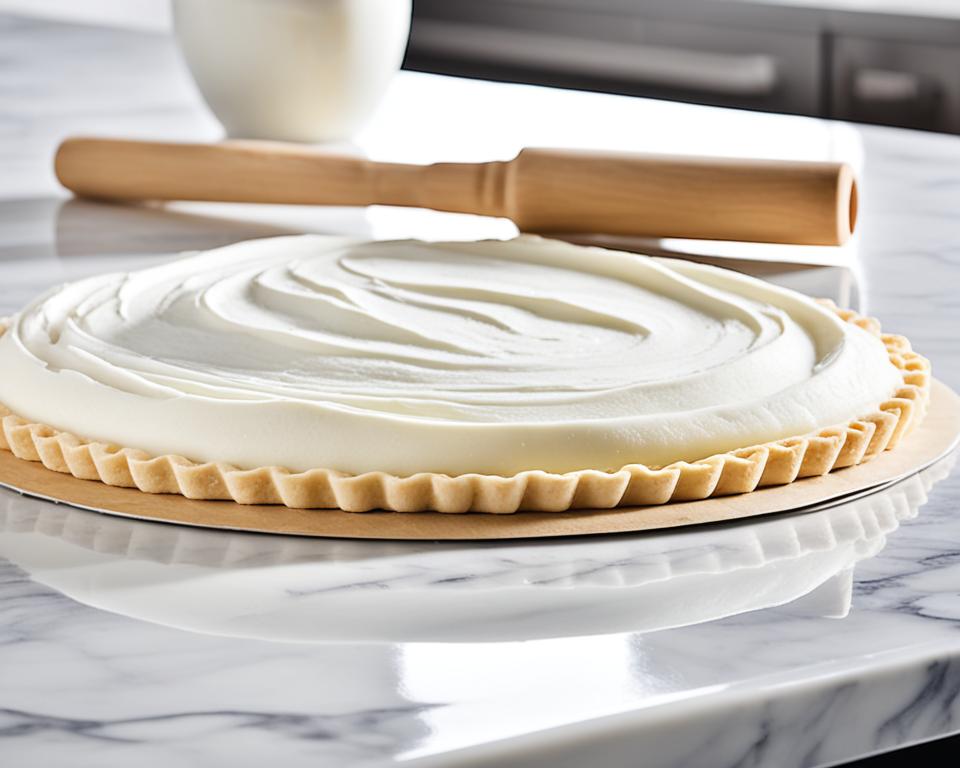
Chilled Sugar-Cookie Dough for Easy Handling
One of the key secrets to perfectly shaped and evenly baked sugar cookies lies in properly handling the dough. By keeping your sugar-cookie dough chilled in the freezer between batches, you can make the dough much easier to work with. Chilled dough is less sticky and more manageable, allowing you to shape and cut it without any hassle. This simple trick will not only save you time but also ensure consistent and professional-looking results.
When you’re ready to bake your sugar cookies, follow these steps:
- Prepare the cookie dough according to your favorite recipe.
- Divide the dough into manageable portions.
- Shape each portion into a ball or disk.
- Place the dough portions in an airtight container, separating them with parchment paper to prevent sticking.
- Transfer the container to the freezer and let the dough chill for at least 30 minutes, or until firm.
- When ready to bake, remove one portion of dough from the freezer at a time, keeping the rest chilled.
- Roll out the dough on a lightly floured surface to your desired thickness.
- Cut out the cookies using cookie cutters.
- Transfer the cut-out cookies to a baking sheet, leaving space between each cookie for spreading.
- Return the remaining dough to the freezer while the first batch bakes.
- Bake the cookies according to your recipe’s instructions.
- Allow the cookies to cool completely before decorating.
By following these steps and keeping your sugar-cookie dough chilled in the freezer between batches, you’ll find that the dough is much easier to manipulate and shape. This technique is especially helpful when working with intricate and detailed cookie cutters, as it prevents the dough from losing its shape or sticking to the surface. Enjoy the process of creating beautifully decorated sugar cookies without the stress of fighting sticky dough!
Expert Tips:
To ensure the best results, remember to keep the dough in the freezer between batches. This will help maintain its chilled consistency, making it easier to handle throughout the entire baking process.
So don’t forget to take advantage of this easy trick to elevate your sugar-cookie baking game. The slightly chilled dough will simplify the shaping and cutting process, allowing you to create picture-perfect cookies every time.
With chilled sugar-cookie dough, you’ll have no trouble in handling, shaping, and crafting beautiful cookies. Keep your batches chilled in the freezer, and enjoy the ease of working with a dough that effortlessly maintains its shape. So go ahead, have fun, and create delicious and visually appealing sugar cookies that will impress everyone!
Conclusion
These baking hacks for beginners are essential for anyone looking to start their baking journey. With these beginner-friendly baking tips, you can navigate the world of baking with ease and confidence. Whether you’re reading the recipe backward, cracking eggs with conviction, or using olive oil to measure sticky ingredients, these essential baking tricks will simplify the process and help you create delicious treats.
By following these baking hacks, you’ll be able to streamline your baking process and achieve fantastic results. Reading the recipe backward ensures you don’t miss any steps and helps you stay organized. Cracking eggs with conviction avoids any unwanted eggshells in your batter, ensuring a smooth and enjoyable baking experience. Using olive oil to measure sticky ingredients makes the entire process much easier and prevents any frustration.
So, don’t be intimidated by baking anymore! Armed with these beginner-friendly baking tips, you’ll soon become a pro in the kitchen. Start your baking journey today and enjoy the delicious treats you’ll be able to create. Happy baking!
FAQ
How can reading the recipe backward help with baking?
Reading the recipe backward ensures that you gather all the equipment, preheat the oven, and accurately measure your ingredients before you start. It helps you follow a systematic approach and reduces the chances of making mistakes.
How can I avoid getting eggshell in my batter?
Crack your eggs with conviction by tapping them firmly on a hard surface. This technique will result in a cleaner crack and minimize the chances of getting any shell bits in your batter.
How can I measure sticky ingredients accurately?
Lightly coat your measuring instruments with olive oil before scooping sticky ingredients like honey, maple syrup, and molasses. This will make the ingredients slide right out without any hassle. You can also use a paper towel moistened with oil to wipe the measuring spoon or cup clean.
Why is unsalted butter important in baked goods?
Using unsalted butter allows for better control over the taste of your baked creations. Salted butter can alter the chemistry of your recipes and impact the delicate flavors of your batter or dough.
Why should I use room temperature eggs for baking?
Room temperature eggs blend more evenly with other ingredients, resulting in a fluffier and more evenly risen cake. This simple step can elevate the texture of your baked goods.
Should I sprinkle salt on the top or bottom of cookies?
Instead of sprinkling salt on the top of cookies before baking, try sprinkling it on the bottom. This allows the salt to interact with the dough before baking and brings out the other flavors, providing a more balanced taste.
How can I achieve even cake layers?
Soak and wring out tea towels, then wrap them around the outside of your cake pans before baking. These damp towels act as insulation, causing your cake layers to rise evenly and eliminating the need to level them after baking.
How can I keep my mixing bowl steady while whisking batter?
Roll a damp kitchen towel into a long tube shape and curl it into a tight circle. Place the bowl in the nest created by the towel, and it will stay steady while you mix, making the process much smoother.
How can I prevent pie dough from sticking to my countertops?
Chill your countertops by placing gallon zip-top bags filled with ice cubes and a little cold water on the counter. This creates a cool surface for rolling out your pie dough, making it easier to handle and preventing any sticking issues.
How can I make sugar-cookie dough easier to work with?
Keep your sugar-cookie dough chilled in the freezer between batches. Chilled dough is less sticky and more manageable, allowing you to shape and cut it without any hassle. This also ensures consistent results and saves time during the baking process.
What are some easy baking hacks for beginners?
Some easy baking hacks for beginners include reading the recipe backward, cracking eggs with conviction, using olive oil to measure sticky ingredients, using unsalted butter, using room temperature eggs, salting cookies from the bottom, using damp towels for even cake layers, stabilizing the mixing bowl with a nest of towels, icing countertops for easy pie dough rolling, and keeping sugar-cookie dough chilled in the freezer between batches.

