Making a homemade flaky pie crust is a delightful experience for any baker. Our expert tips and step-by-step instructions will guide you through the process of creating a perfectly buttery and flaky crust that will elevate your desserts to new heights. Whether you’re a seasoned baker or a beginner, our baking techniques will help you master the art of homemade flaky baking.
Key Takeaways:
- Follow our expert tips and techniques to create a homemade flaky pie crust that will impress your guests.
- A homemade pie crust allows you to have full control over the ingredients and their quality.
- The combination of butter and shortening is the secret to achieving the perfect flakiness in your crust.
- Keep your pie dough cold throughout the process to prevent the butter from melting before baking.
- A homemade pie crust is versatile and can be used for a variety of desserts and decorative designs.
Why Homemade Pie Crust Is Worth the Effort
Store-bought pie crusts may seem convenient, but nothing compares to the taste and texture of a homemade crust. With a homemade pie crust, you have full control over the ingredients and can ensure their quality. The crust is the frame for your pie, and a homemade flaky crust can elevate the overall taste and presentation of your desserts. Plus, making your own pie crust allows you to experiment with different flavors and create unique combinations.
“There is something special about the love and care that goes into making a homemade pie crust. It adds a personal touch that can’t be replicated with a store-bought crust.” – Sarah Johnson, Pastry Chef
When you make a homemade pie crust, you can choose the best ingredients, like top-quality flour, butter, and seasonings. You can also customize the crust to suit your preferences, whether you prefer a buttery crust or a crust with a hint of sweetness. By taking the time to make your own crust, you’ll create a dessert that is truly special and memorable.
Not only does a homemade pie crust offer superior taste and quality, but it also allows you to showcase your baking skills and creativity. You can impress your friends and family with intricate decorative designs or experiment with unique fillings and flavor combinations. The joy of presenting a homemade pie with a golden, flaky crust is incomparable.
Making Memories with Homemade Pie Crust
Imagine the aroma of a freshly baked pie filling your kitchen, the anticipation of slicing into that first piece, and the joy of sharing a homemade dessert with loved ones. These are the priceless memories that a homemade pie crust can create. When you put effort and love into making a pie from scratch, every bite becomes a moment to cherish.
So, the next time you have the opportunity to make a pie, consider taking the extra step and crafting a homemade pie crust. Your taste buds will thank you, and the satisfaction of creating something truly extraordinary will fill your heart.
The Difference is in the Crust
When it comes to the quality of the crust, homemade always reigns supreme. A homemade pie crust is flakier, richer, and more flavorful than any pre-made version you can buy at the store. The magic lies in the careful combination of ingredients, the techniques used to bring the dough together, and the care taken during the baking process.
Unlike store-bought crusts that tend to be dull and uninspiring, a homemade pie crust is a work of art. Each bite melts in your mouth, delivering a delightful crunch and buttery goodness. Whether you’re making a classic apple pie, a savory quiche, or a decadent chocolate tart, the quality of the crust can make all the difference.
Investing the effort to make a homemade pie crust is not only about enhancing the taste and texture of your desserts. It’s about embracing the artistry and tradition of baking, and expressing your passion for creating something truly exceptional.
The Essential Ingredients for Homemade Pie Crust
When it comes to creating a homemade pie crust, using the right ingredients is the key to achieving flaky and delicious results. Let’s take a closer look at the essential components that make up the perfect crust:
1. Flour
The foundation of any pie crust is flour. It’s important to use high-quality flour, like King Arthur Unbleached All-Purpose Flour, which has a high protein level. This helps the crust rise and gives it a desirable texture.
2. Salt
A touch of salt enhances the flavor of the crust. It balances the sweetness of the filling and adds depth to each bite.
3. Butter
Butter is what gives the crust its rich flavor and flaky texture. Opt for unsalted butter, as it allows you to control the saltiness of the crust. Make sure the butter is cold and cut it into small pieces before incorporating it into the dough.
4. Vegetable Shortening
Vegetable shortening is another essential ingredient for a successful pie crust. It provides structure and stability, ensuring that the dough holds its shape during baking. Like butter, the shortening should be cold before use.
5. Ice Water
Ice water is the magical ingredient that brings the pie dough together. The cold temperature helps keep the fats in the crust from melting, resulting in a flakier texture. Add the ice water gradually, using only enough to bring the dough together without making it sticky.
“The key ingredients for a homemade pie crust are simple: flour, salt, butter, vegetable shortening, and ice water.”
While the above ingredients are fundamental to a classic pie crust, some recipes may incorporate other variations. For instance, some bakers use a combination of water and vodka in their crusts. The alcohol in the vodka helps keep the dough flaky and tender. Remember to experiment and find the combination of ingredients that works best for you.
Now that we have a good understanding of the essential ingredients, let’s move on to exploring the perfect marriage of butter and shortening in Section 4.
The Perfect Marriage of Butter and Shortening
When it comes to creating the perfect flaky pie crust, there’s a secret ingredient combination that makes all the difference. The marriage of butter and shortening brings a harmonious blend of flavors and textures, ensuring a crust that is both rich and flaky.
Butter is the star of the show, bringing a deliciously rich flavor to the crust. Its high fat content creates pockets of flakiness as it melts during baking. However, butter has a lower melting point than shortening, which can sometimes cause the crust to lose its shape.
That’s where shortening comes in. This solid fat adds stability to the dough and helps it maintain its shape while baking. The combination of butter and shortening creates the perfect balance of flavor and structure, resulting in a crust that is both tender and flaky.
In our recipe for an all-butter pie crust, we use a technique that ensures the butter and shortening are evenly distributed throughout the dough, maximizing both flavor and texture. Using a pastry cutter or forks, we cut the fats into the dry ingredients until the mixture resembles coarse meal. This leaves small lumps of fat scattered throughout the dough, which contribute to the flakiness of the crust.
Shortening acts as “shape insurance” for the crust. It helps the dough hold its shape during baking, preventing it from slumping or shrinking. This is especially important when creating decorative pie crust designs or working with intricate shapes.
So, don’t underestimate the power of butter and shortening in achieving the perfect flaky crust. Their combination brings together the best of both worlds, creating a pie crust that is not only delicious but also visually stunning.
With this winning combination, your homemade pies will have an irresistible flavor and a flaky, melt-in-your-mouth texture. Try it for yourself and experience the difference that the marriage of butter and shortening can make in your baking.
The Importance of Temperature in Homemade Pie Crust
Keeping your pie dough cold is essential for a successful homemade crust. If the butter melts before baking, you won’t achieve the desired flakiness. To prevent this, we recommend following these temperature tips:
- Chill your ingredients: Before starting, place your ingredients and mixing bowl in the refrigerator or freezer. This helps maintain the cold temperature needed for a flaky crust.
- Handle with cold hands: Cold hands can help prevent the butter from melting. If necessary, run your hands under cold water before working with the dough.
- Work quickly: The longer you handle the dough, the more likely it is to warm up. Work efficiently and avoid excessive touching or kneading.
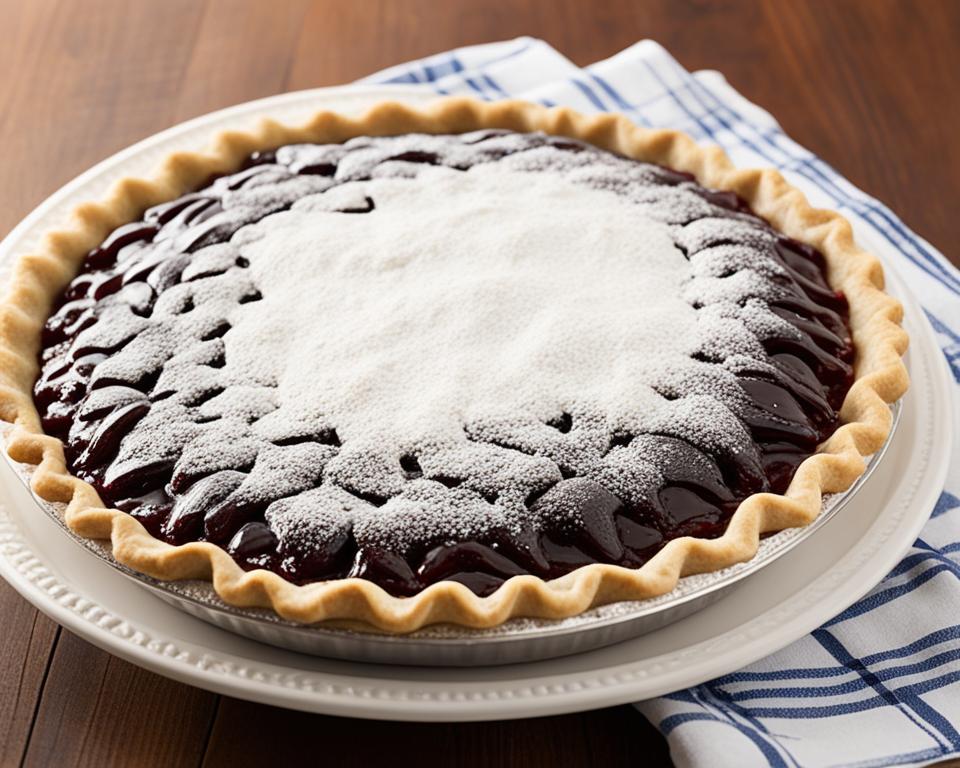
Remember, the refrigerator is just as important as the oven when it comes to making a homemade pie.
To maintain the temperature throughout the baking process, it’s also important to follow the recipe instructions and monitor the oven temperature. By keeping your pie dough cold, you can ensure a perfectly flaky crust that will impress your family and friends!
Rolling Out and Shaping the Pie Dough
Rolling out the pie dough to the right thickness and shape is crucial for even baking and presentation.
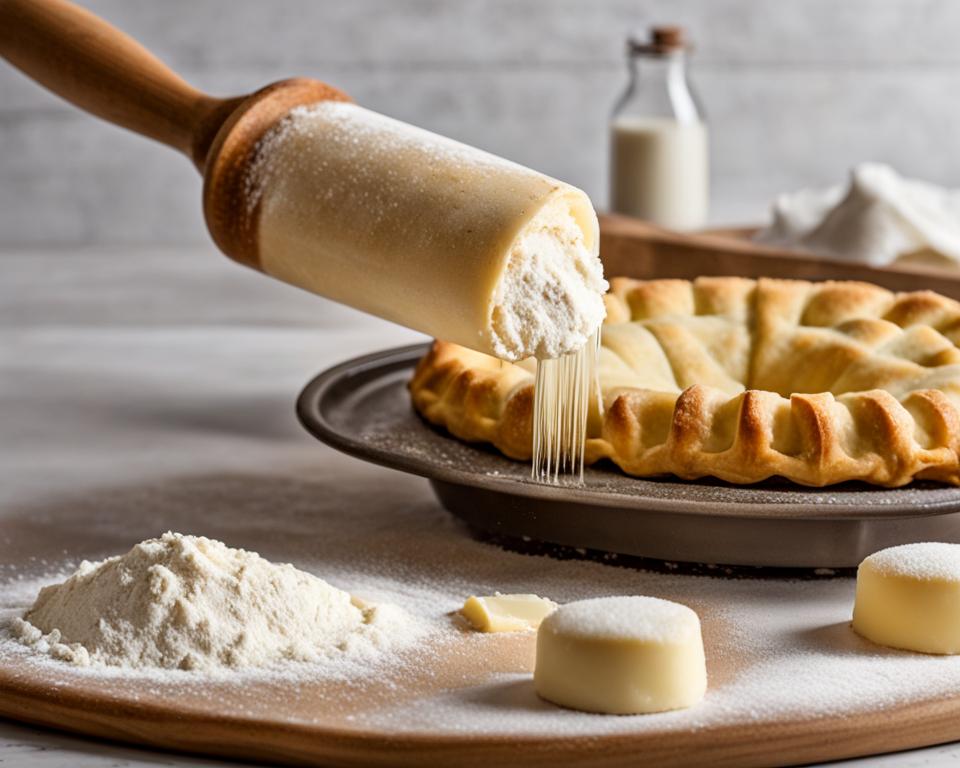
Start by lightly flouring your work surface, rolling pin, and hands. This will prevent the dough from sticking and make it easier to handle.
Using a rolling pin, roll the dough from the center outwards, turning it as you go. This technique prevents the dough from sticking to the surface and ensures an even thickness throughout.
Aim for a circular shape that is at least 1 inch wider than your pie pan. This extra width will allow the dough to go up the sides of the pan and create a beautifully crimped edge.
The recommended thickness for a pie crust is about 1/8 inch, which provides a nice balance between a flaky crust and a sturdy base. However, feel free to adjust the thickness to your preference.
If the dough becomes too thin and fragile while rolling, don’t panic! Simply fold it in half and re-roll. This will add some extra layers and strengthen the dough.
Remember, rolling out and shaping the pie dough is a skill that improves with practice. Don’t be discouraged if your first attempt isn’t perfect. The more you work with pie dough, the better you’ll become at achieving that ideal circular shape and thickness.
Tips for Troubleshooting and Storing Pie Dough
When it comes to making pie dough, sometimes things don’t go according to plan. If you find yourself with a too wet dough, don’t worry, we’ve got you covered. Here are some tips to help troubleshoot and store your pie dough like a pro.
1. Chilling and Adding Flour
If your pie dough is too wet, the first step is to chill it thoroughly. Wrap the dough in plastic wrap and place it in the refrigerator for at least 30 minutes. This will help firm up the butter and balance the excess liquid. Once chilled, you can lightly dust your work surface with flour and roll out the dough, adding more flour as needed to achieve the right consistency.
2. Storing Pie Dough
Want to save time during busy baking days? You can store your pie dough for future use. Here’s how:
- Wrap the pie dough tightly in plastic wrap to prevent it from drying out.
- Refrigerate the dough for up to 2 days.
- Freeze the dough for up to 3 months.
Thaw frozen dough overnight in the refrigerator before using. This will ensure that it maintains its quality and texture.
Now you can prepare your pie dough in advance and have it ready whenever you’re in the mood for baking.
Remember, troubleshooting and storing pie dough is all part of the learning process. With practice and these tips, you’ll be able to handle any dough-related challenge that comes your way.
The Versatility of Homemade Pie Crust
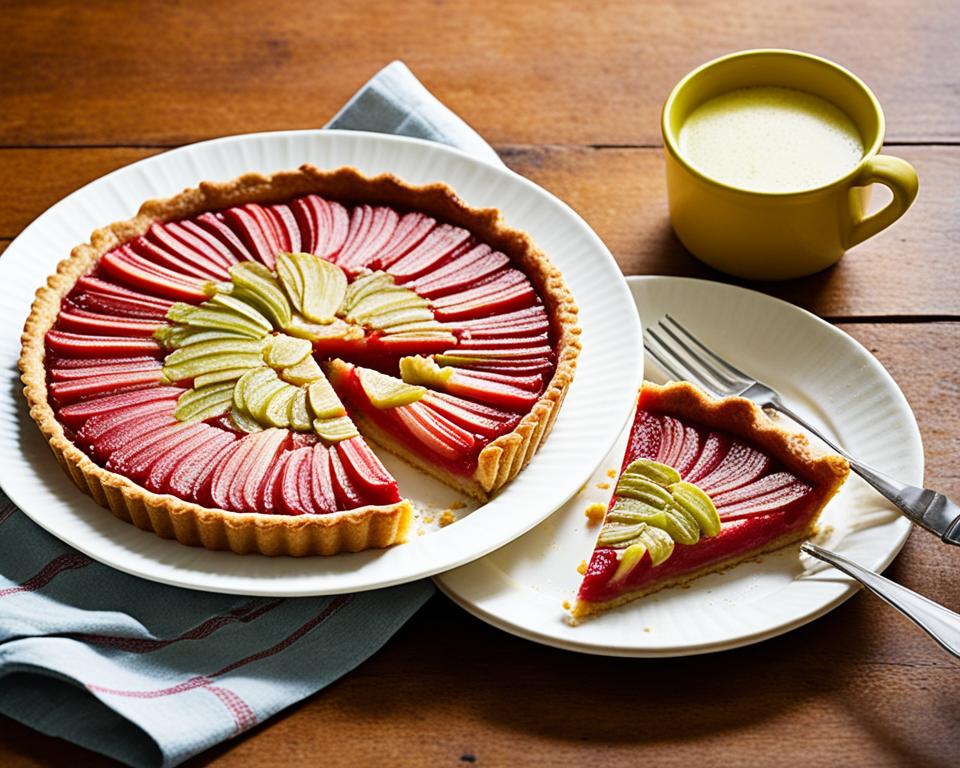
A homemade pie crust is not limited to traditional pies. Its versatility allows it to be used in a wide range of desserts, adding a delightful flaky texture and buttery flavor to your creations. From refreshing fruit galettes to bite-sized mini pies, the possibilities are endless with a versatile homemade pie crust.
One excellent way to showcase the versatility of homemade pie crust is by making mini pies. These individual-sized treats are perfect for parties, gatherings, or simply as a personal indulgence. You can fill them with various flavors, such as apple, cherry, or pecan, creating a delightful assortment of bite-sized desserts that will delight your guests.
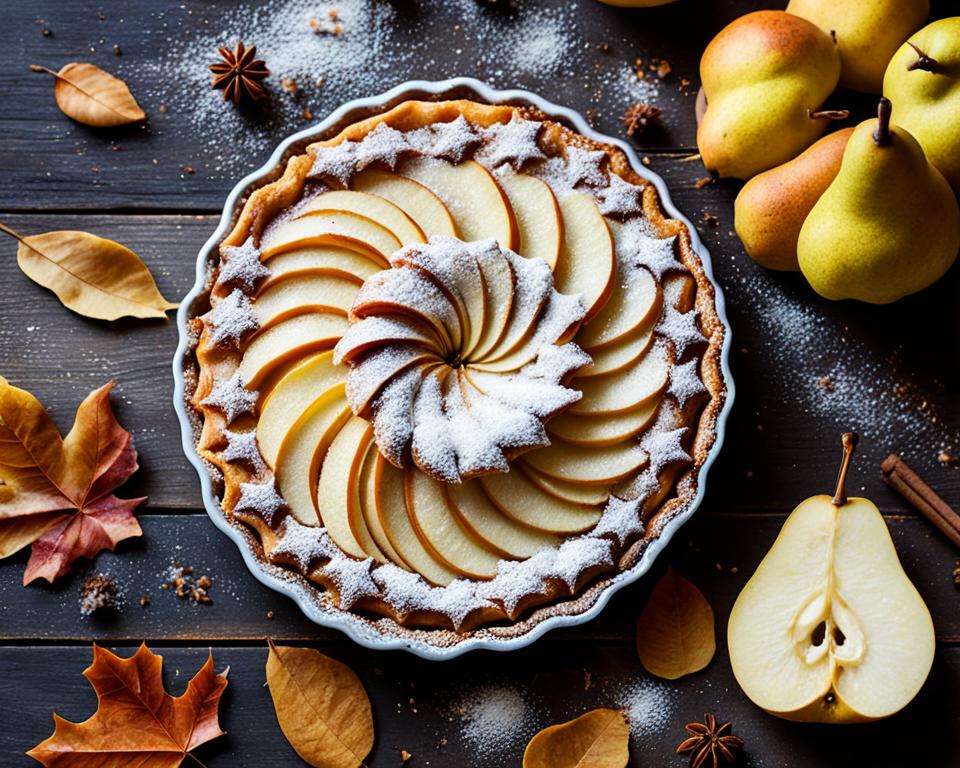
Another way to unleash the creativity of homemade pie crust is through decorative designs. By using cookie cutters in various shapes and sizes, you can transform your pie crust into a canvas of artistry. Whether it’s delicate hearts for a romantic occasion, vibrant leaves for a fall-themed dessert, or festive shapes for a holiday treat, the decorative designs on your pie crust will impress both visually and flavor-wise.
Here is an example of what decorative designs with cookie cutters can do to elevate the presentation of your pie crust:
Creating decorative designs with cookie cutters not only adds a visual appeal to your desserts but also showcases your attention to detail and creativity. These decorative crusts can take your homemade pies and desserts to a whole new level, making them stand out and leaving a lasting impression on your guests.
So don’t limit your homemade pie crust to just traditional pies. Explore its versatility by trying out different desserts, experimenting with mini pies and decorative designs. Let your imagination run wild and enjoy the flaky goodness and beautiful presentation that a versatile homemade pie crust brings to your homemade treats.
Conclusion
Mastering the art of homemade flaky baking is no small feat, but armed with the right tips and techniques, you can achieve mouthwatering results that will leave your loved ones begging for more. Whether you’re a beginner looking to dip your toes into the world of pie crusts or an experienced baker seeking to perfect your skills, making your own pie crust is a rewarding endeavor that brings unrivaled flavor and texture to your desserts.
Throughout this article, we have shared expert advice and step-by-step instructions to help you become a master of the pie crust. By utilizing high-quality ingredients like King Arthur Unbleached All-Purpose Flour and combining the perfect blend of butter and vegetable shortening, you’ll be well on your way to creating a homemade flaky crust that is both rich in flavor and delicate in texture.
Remember, temperature is key when it comes to pie dough. Keeping your ingredients cold and working quickly will prevent your butter from melting prematurely and ensure that flaky, buttery goodness we all crave. And don’t worry if you encounter any issues along the way – we’ve provided troubleshooting tips to help you navigate through potential challenges.
So, roll up your sleeves, dust off your rolling pin, and embrace the magic of homemade flaky baking. With the knowledge and skills you’ve acquired, you’ll be able to create delectable pies and pastries that will elevate any occasion. From traditional fruit pies to whimsical mini desserts, your homemade flaky crust will serve as the foundation for baking delights that will impress every time.
FAQ
Why should I make a homemade pie crust instead of buying one from the store?
Making a homemade pie crust allows you to have full control over the ingredients and ensure their quality, resulting in a tastier and flakier crust. Plus, it gives you the opportunity to experiment with different flavors and create unique combinations.
What are the essential ingredients for a homemade pie crust?
The key ingredients for a homemade pie crust are flour, salt, butter, vegetable shortening, and ice water. These ingredients work together to create a buttery and flaky crust.
Why is the combination of butter and shortening important in a pie crust?
Butter adds richness and flakiness to the crust, while shortening helps the dough stay pliable and maintain its shape during baking. The combination of both fats contributes to a perfect flaky pie crust.
Why is it important to keep the pie dough cold?
Keeping the pie dough cold is essential to prevent the butter from melting before baking. If the butter melts, the crust won’t be as flaky. It’s recommended to refrigerate the ingredients and handling tools beforehand and work quickly with cold hands.
How do I roll out and shape the pie dough?
Start by lightly flouring your work surface, rolling pin, and hands. Roll the dough from the center outwards, turning it as you go to prevent sticking. Aim for a circular shape that is at least 1 inch wider than your pie pan. The dough should be about 1/8 inch thick.
What should I do if my pie dough is too wet?
If your pie dough is too wet, chill it thoroughly and add more flour while rolling it out. This will help balance the excess liquid and ensure a better texture. It’s also a good idea to make pie dough in advance to save time during busy baking days.
Can I use a homemade pie crust for desserts other than traditional pies?
Absolutely! A homemade pie crust can be used for various desserts, such as mini pies, fruit galettes, hand pies, and even homemade pop tarts. It’s a versatile crust that allows for creativity in baking.
What should I do if I encounter issues with my pie dough or want to store it?
If you encounter issues with your pie dough, such as it being too wet, refer to the tips shared earlier for troubleshooting. When storing pie dough, wrap it tightly in plastic wrap and refrigerate it for up to 2 days or freeze it for up to 3 months. Thaw frozen dough overnight in the refrigerator before using.
How can mastering the art of homemade flaky baking benefit me?
Mastering the art of homemade flaky baking allows you to create delicious and impressive desserts. Whether you’re a beginner or an experienced baker, making your own pie crust brings flavor and texture to your desserts and allows you to enjoy the satisfaction of baking magic.

