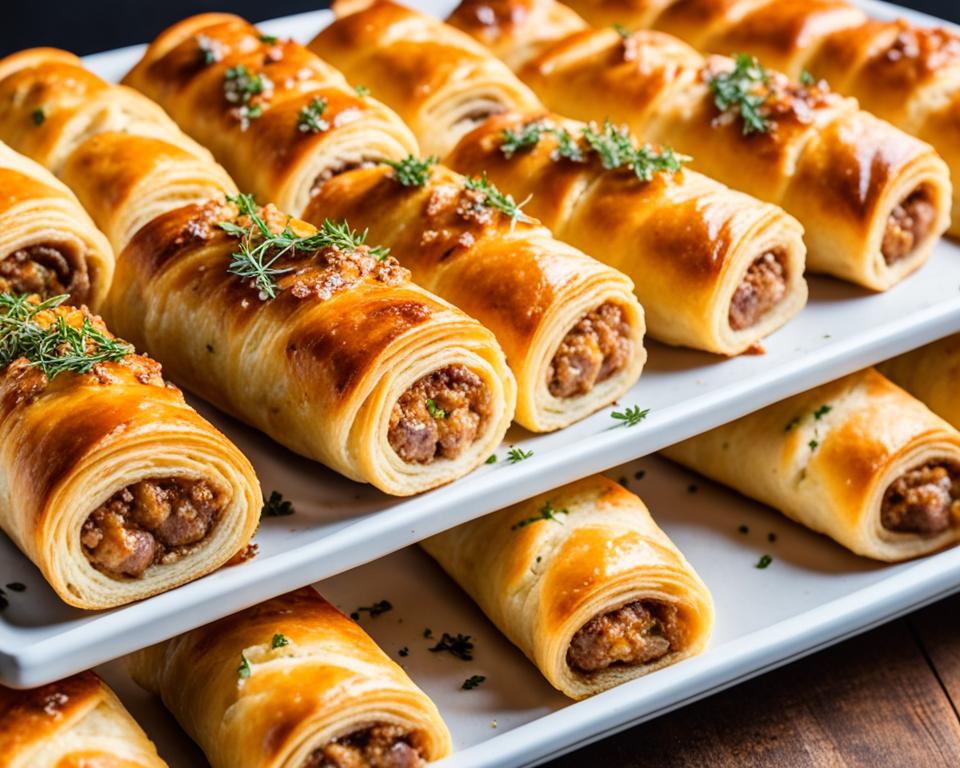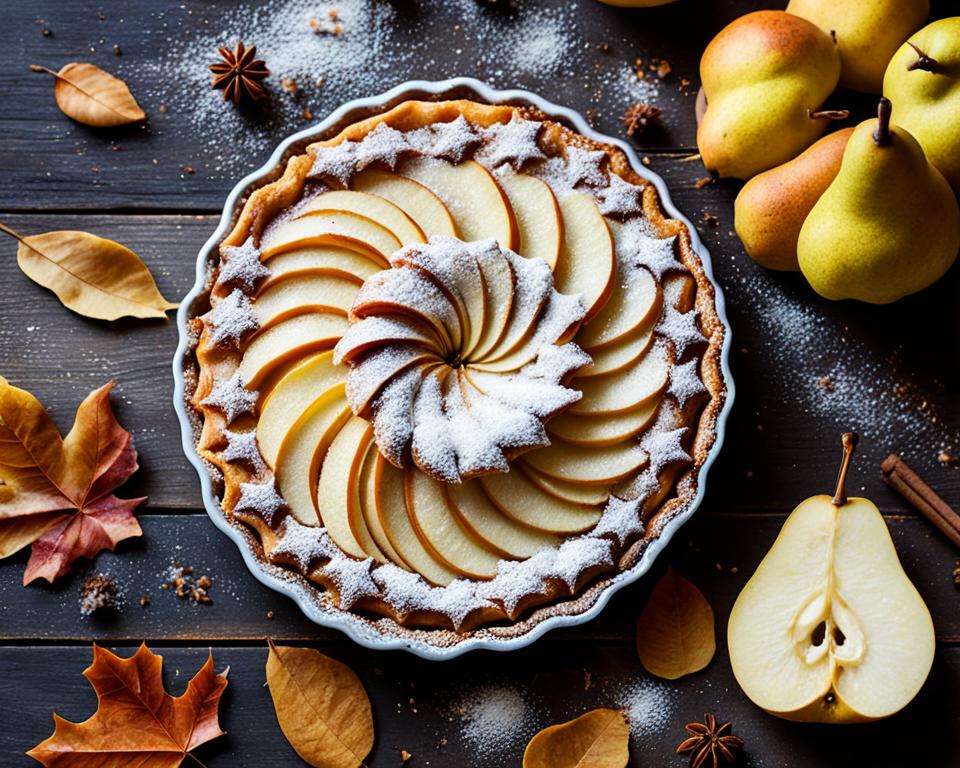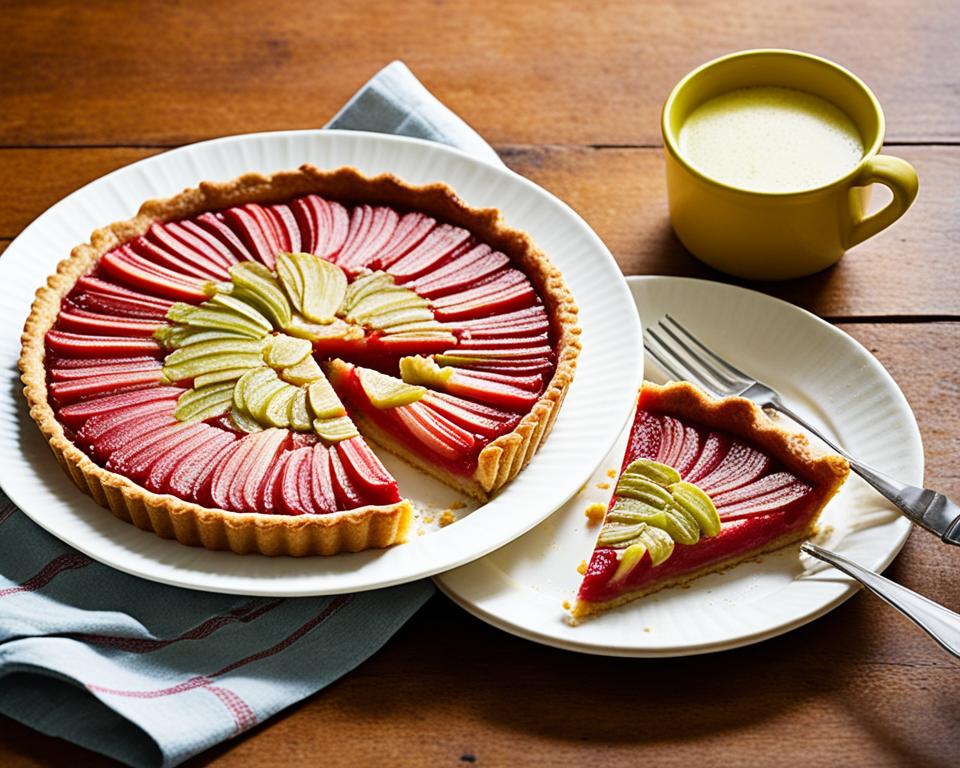
Welcome to our guide on how to make the perfect, buttery flaky dough for all your homemade pastries, including pies, quiches, and galettes. Creating a flaky crust from scratch is easier than you think, and the results are absolutely worth it. Our tried-and-true recipe has been a favorite among home bakers since 2015, guaranteeing delicious, buttery goodness every time.
Before we dive into the details, let’s take a moment to appreciate the wonders of a homemade pie crust. The flaky dough is the foundation of your homemade pies, providing that irresistible texture and a buttery crust that is simply unmatched. By investing a little time and effort, you can create a crust that is sure to impress your guests on special occasions or enhance your own everyday treats.
Key Takeaways:
- Our flaky dough recipe is easy to follow and guarantees delicious results.
- Homemade pie crusts add a special touch to your baked goods, perfect for special occasions.
- The quality of the crust greatly impacts the final taste and presentation of your desserts.
- The key ingredients for flaky dough include flour, salt, butter, vegetable shortening, and ice water.
- Temperature control is crucial in achieving the perfect flaky texture.
Why Homemade Pie Crusts Are Worth the Effort
Many bakers find making a homemade pie crust intimidating, but the effort is definitely worth it. Homemade pie crusts are made with love and care, which adds a special touch to any baked goods. While they may take some time to make, they are often reserved for special occasions and can elevate the overall taste and presentation of desserts. The crust is the foundation for many delicious desserts, and the quality of the crust can greatly impact the success of the final product.
Creating your own homemade pie crust allows you to have full control over the ingredients, ensuring the highest quality and freshness. You can choose the best flour, use premium butter, and add a pinch of your favorite spices to enhance the flavor. This attention to detail results in a crust that is far superior to store-bought alternatives.
“Homemade pie crusts are like a warm hug—they bring comfort and delight to every bite.”
Moreover, making a pie crust from scratch allows you to personalize it according to your taste and dietary preferences. You can opt for a classic all-butter crust for a rich and flavorful profile, or use a mix of butter and vegetable shortening for a balance between taste and texture. This level of customization is simply not achievable with prepackaged crusts.
Although making a homemade pie crust may be time-consuming, the satisfaction and pride that comes with serving a delicious dessert made from scratch make it all worthwhile. Plus, the process itself can be therapeutic and enjoyable, allowing you to connect with your culinary creativity.
So the next time you’re planning a special occasion or want to impress your loved ones with a delectable dessert, take the extra effort to make a homemade pie crust. Your taste buds and those you share it with will thank you!
Key Benefits of Homemade Pie Crusts
| Benefit | Description |
|---|---|
| Superior Flavor | The use of quality ingredients and personalization options result in a crust with unmatched taste. |
| Elevated Presentation | Homemade pie crusts add a special touch to desserts, making them perfect for special occasions. |
| Quality Control | You have complete control over the ingredients, ensuring freshness and using high-quality components. |
| Creative Customization | Unlike store-bought crusts, homemade versions allow you to customize flavors and adapt to dietary preferences. |
| Satisfaction and pride | The process of making a homemade pie crust is rewarding and can be a joyful culinary experience. |
The Key Ingredients for Flaky Dough
The key to achieving flaky dough lies in the combination of carefully selected ingredients. When making flaky dough, it’s crucial to include the following key ingredients:
1. Flour
Quality flour with a higher protein content, such as all-purpose or pastry flour, is recommended for optimal results. The protein in the flour creates structure and texture in the dough.
2. Salt
A pinch of salt enhances the flavor of the dough and balances the sweetness of the filling. Don’t underestimate the impact of this small ingredient.
3. Butter
Butter is a must in creating a flaky crust. It adds richness, flavor, and contributes to the texture of the pastry. Remember to use cold butter and cut it into small pieces for even distribution.
4. Vegetable Shortening
Vegetable shortening plays a crucial role in creating a tender and stable dough. It provides structure and stability, allowing the crust to hold its shape during baking.
5. Ice Water
Ice water is essential for bringing the dough together. Cold water slows down the development of gluten in the flour, resulting in a tender and flaky crust. Some recipes even recommend using a mixture of water and vodka to enhance the flakiness and tenderness.
By using the right combination of flour, salt, butter, vegetable shortening, and ice water, you can achieve a perfectly flaky dough that will elevate your homemade pastries to a whole new level.
The Importance of Temperature in Pie Dough
Temperature plays a crucial role in achieving the perfect flaky pie crust. It is important to keep all the ingredients, including the butter, shortening, and water, as cold as possible. This helps prevent the fats from melting before the crust hits the hot oven, ensuring a flaky texture.
The refrigerator is just as important as the oven when making a homemade pie. Keeping the dough refrigerated allows it to rest and firm up, making it easier to work with and maintaining its shape while baking.
When making pie dough, it’s essential to start with chilled ingredients. Cold butter and shortening ensures that they remain in solid form during the mixing process and create those desirable flaky layers. Cold water or even ice water is used to bring the dough together without melting the fats. Aim to maintain a cool environment throughout the entire dough-making process.
“The texture of the dough is determined by the state of the fats. If they melt too soon, the dough loses its flakiness.”
Once the dough is mixed, it should be wrapped tightly in plastic wrap and refrigerated for at least 30 minutes to an hour. This resting period allows the gluten to relax and the fats to firm up even more, making the dough easier to roll out and preventing shrinkage. It’s important to note that if the dough becomes too warm or soft while rolling, it should be placed back in the refrigerator to firm up before continuing.
The oven temperature is equally important. A hot oven ensures that the fat layers melt and create steam, resulting in flaky, airy pockets. Follow the recipe instructions for the recommended oven temperature to achieve optimal results.
By maintaining a cold environment, both in the preparation and baking stages, you can create a flaky pie crust that delights with its texture and taste.
Mixing, Rolling, and Shaping the Dough
When it comes to creating flaky dough, there are various methods you can use for mixing and shaping. Different recipes recommend different techniques, so it’s important to find the one that works best for you. Let’s explore some of the popular methods:
Pastry Cutter or Forks
One common method involves using a pastry cutter or two forks to cut in the fats, such as butter and shortening, into the dry ingredients. This technique allows you to achieve small, pea-sized bits of fats throughout the dough, resulting in a tender and flaky texture.
Food Processor
For a quicker process, you can also use a food processor to mix the fats into the dry ingredients. The pulsing action of the food processor helps distribute the fats evenly, creating a consistent texture.
Regardless of the method you choose, it’s important to work quickly and avoid overworking the dough. Overworking can lead to gluten formation, which can make the crust tough and chewy.
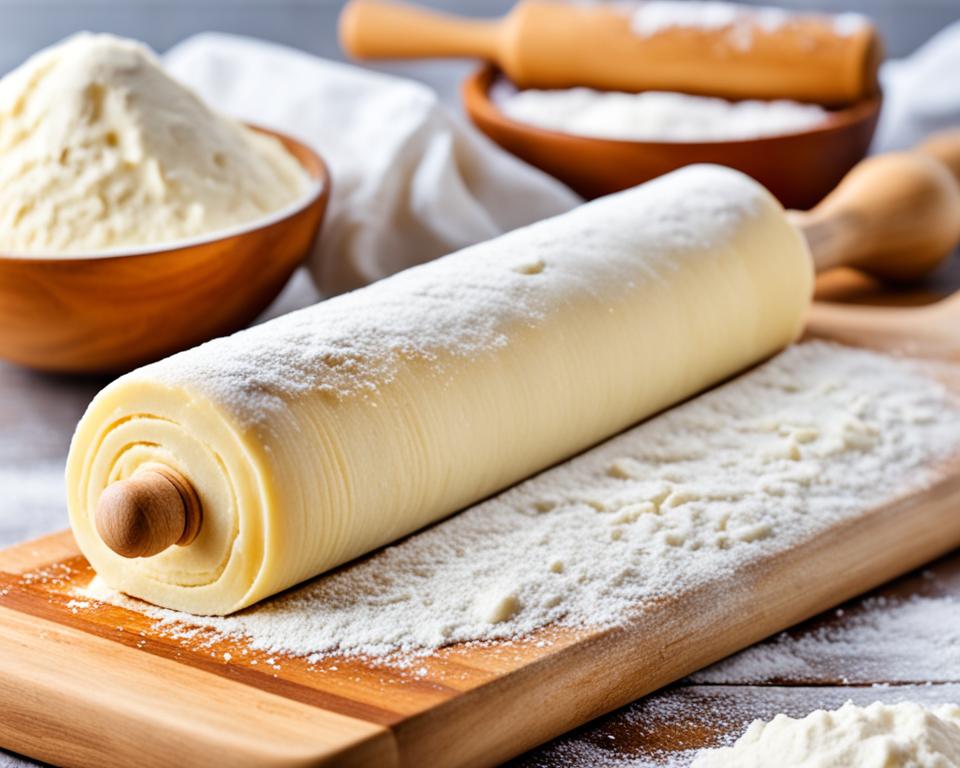
Rolling Out the Dough
Once the dough is mixed, it’s time to roll it out for shaping. To roll out the dough, you’ll need a lightly floured work surface and a rolling pin. Begin by placing the dough on the floured surface and sprinkle a little more flour on top to prevent sticking.
Using gentle pressure, start rolling the dough from the center outwards. Turn the dough as needed to ensure an even thickness and prevent sticking to the work surface. Remember to apply consistent pressure to maintain an even texture throughout.
Here’s an example of a flaky dough shaping technique:
“Starting from the center, I gently roll the dough outwards in all directions, turning it occasionally. I continue this process until the dough reaches the desired thickness, usually about 1/8 inch.”
– Sara, Home Baker
By following these techniques, you’ll be able to shape your dough and prepare it for baking in no time. The next section will cover the importance of resting and freezing the dough to further enhance its flakiness.
| Method | Pros | Cons |
|---|---|---|
| Pastry Cutter or Forks | – Allows for control over the size of the fats – Helps create a tender and flaky texture |
– Requires some manual effort and time |
| Food Processor | – Quick and efficient – Even distribution of fats throughout the dough |
– Less control over the size of the fats – Potential risk of overprocessing |

Resting and Freezing the Dough
After mixing and shaping the dough, it’s important to give it some rest. This resting period allows the gluten to relax and the fats to firm up, making the dough easier to handle and preventing shrinkage while baking. To rest the dough, wrap it tightly in plastic wrap and refrigerate it for at least 2 hours or up to 5 days. The refrigerator is the perfect place for the dough to rest and develop its flavors.
Resting the dough in the refrigerator has several benefits:
- Relaxes the gluten: The resting period allows the gluten strands in the dough to relax, resulting in a more tender and flaky crust.
- Firms up the fats: The cold temperature of the refrigerator helps the butter and shortening in the dough to solidify, creating pockets of fat that will melt during baking, leading to a flakier texture.
If you’re planning to make a pie crust ahead of time, you can also freeze the dough. Freezing is a convenient way to prepare in advance and have homemade pie crusts ready whenever you need them. Here’s how you can freeze pie dough:
- Shape the dough into a disc and wrap it tightly in plastic wrap or place it in an airtight container.
- Label the package with the date and the type of dough (e.g., plain or whole wheat).
- Store the wrapped dough in the freezer for up to 3 months.
To use the frozen dough, it’s best to thaw it overnight in the refrigerator. This slow thawing process ensures that the dough stays cold and retains its structure. Once thawed, you can roll out the dough and proceed with your favorite pie recipe.
Resting and freezing the dough are crucial steps in achieving a perfect flaky crust. These methods allow the dough to develop its flavors, relax the gluten, and firm up the fats. By taking the time to rest and freeze your dough, you’ll be rewarded with a delicious homemade pie crust that will impress your family and friends.
Rolling Out and Using the Pie Dough
Rolling out the perfect pie dough requires a few key tools and techniques. With the right approach, you can achieve an even thickness and a smooth, uniform shape for your pies. Here’s how:
What You’ll Need:
- A rolling pin
- A lightly floured work surface
To start, lightly flour your work surface to prevent the dough from sticking. Place the chilled pie dough on the floured surface and form it into a disk. Use your hands to gently flatten the dough to make it easier to roll.
The Rolling Technique:
When rolling out the dough, start from the center and roll away from yourself with gentle to medium force. Roll in one direction, gradually moving the rolling pin towards the outer edge of the dough. Turn the dough a quarter turn and repeat the process until you achieve the desired thickness.
Tips for Success:
- Keep the dough moving to prevent it from sticking to the work surface.
- Aim for an even thickness throughout the dough to ensure even baking.
- Handle the dough gently to maintain its flakiness and prevent tearing.
Expert Tip: If the dough cracks or tears while rolling, simply press it back together with your fingertips and continue rolling. Don’t worry, imperfections can easily be hidden or repaired once the dough is in the pie dish.
Using the Rolled-out Dough:
Once you’ve rolled out the pie dough, you can use it to line a pie dish or create decorative designs. To line a pie dish, carefully transfer the rolled-out dough onto the dish and gently press it into place, ensuring there are no air bubbles. Trim any excess dough from the edges, leaving a slight overhang for crimping.
If you’re feeling creative, you can create decorative designs on top of your pie, such as a lattice top. Simply cut the rolled-out dough into thin strips and weave them together on top of the filling. This creates a beautiful and professional-looking design.
Remember to handle the dough gently during these steps to preserve its flakiness and prevent any damage.
Summary:
Rolling out and using pie dough requires a steady hand and attention to detail. With a rolling pin, a floured work surface, and some practice, you can achieve the perfect thickness and shape for your pies. Whether you’re lining a pie dish or creating decorative designs, handle the dough gently to maintain its flakiness. Now that you know how to roll out and use pie dough, it’s time to get creative with your homemade pies!
Tips for Making the Best Flaky Pie Crust
To achieve the best flaky pie crust, follow these expert tips:
- Use cold ingredients: Keep your ingredients, such as butter and water, chilled in the refrigerator before using them. Cold ingredients help maintain the flakiness of the crust.
- Cut the butter into small uniform pieces: Cut your butter into small, pea-sized bits. This allows the butter to distribute evenly throughout the dough, resulting in a flakier texture.
- Adjust the amount of water: When adding water to the dough, pay attention to the texture. Add water gradually and mix it in until the dough comes together without being too dry or too wet.
- Rest the dough at various stages: Resting the dough at different intervals allows the gluten to relax and the fats to firm up. After mixing the dough, let it rest in the refrigerator for at least 30 minutes. Resting the dough helps enhance the flakiness.
Following these tips, along with proper temperature control and gentle handling, will help you achieve the perfect flaky pie crust every time.
The Butter vs. Shortening Debate
When it comes to making pie crusts, the choice between using butter or shortening is a decision that often sparks debate among bakers. Both ingredients have their merits and can contribute to the overall texture and flavor of the crust. Let’s take a closer look at the differences between butter and shortening and how they impact your homemade flaky dough.
Butter: Flavorful and Flaky
Butter is a popular choice for pie crusts due to its rich, creamy flavor. It adds a delightful taste to the crust, enhancing the overall enjoyment of the pie. Butter also plays a crucial role in creating a flaky texture. As it melts during baking, it creates pockets of steam that contribute to the light, airy layers that make a pie crust truly flaky.
Shortening: Pliable and Shape-Maintaining
On the other hand, shortening is valued for its ability to create a more pliable dough. Its higher melting point compared to butter allows the dough to hold its shape during baking, resulting in a crust that maintains its structure. Shortening is also favored by those seeking a more neutral flavor profile, as it doesn’t impart as much taste as butter.
But what if you can’t decide between the two? Many bakers opt for a combination of butter and shortening to reap the benefits of both ingredients. By using both fats, you can achieve a balance of flavor from the butter and the pliability of the shortening, resulting in a crust that is both flavorful and easy to work with.
To help you decide which option is best for your flaky dough, here’s a comparison of butter and shortening:
| Aspect | Butter | Shortening |
|---|---|---|
| Taste | Rich and flavorful | Neutral |
| Flakiness | Contributes to flakiness | Maintains shape during baking |
| Pliability | N/A | Creates a more pliable dough |
Ultimately, the choice between butter and shortening comes down to your personal preference. You can experiment with different ratios, or even try a combination of both, to find the perfect balance of flavor and texture for your homemade flaky dough. So go ahead, let your taste buds guide you on this delicious debate!
Conclusion
Mastering the art of making a homemade pie crust may initially seem daunting, but with the right ingredients, techniques, and expert tips, you can achieve a flaky and delicious result that will impress everyone at the table. By using quality ingredients and keeping them cold throughout the process, you will ensure that your crust has the perfect flaky texture that makes every homemade pastry unforgettable.
Remember to work quickly, but with a gentle touch, to prevent overworking the dough and developing tough gluten. Allowing the dough to rest at different stages, like in the refrigerator or freezer, will give it time to relax and firm up, making it easier to handle and maintain its shape while baking. Experimenting with different fats, such as butter or shortening, will help you find the ideal balance of flavor and texture for your homemade pie crust.
Follow these expert tips, practice your techniques, and soon you’ll be creating mouthwatering pastries that will rival those from your favorite bakery. So why wait? Roll up your sleeves, grab your trusty rolling pin, and let your creativity shine by crafting delicious pies, tarts, quiches, and more with your homemade flaky pie crust. Your friends and family will be begging for seconds!
FAQ
What makes homemade pie crusts worth the effort?
Homemade pie crusts are made with love and care, adding a special touch to any baked goods. They are often reserved for special occasions and can elevate the overall taste and presentation of desserts.
What are the key ingredients for flaky dough?
The key ingredients for flaky dough are flour, salt, butter, vegetable shortening, and ice water.
Why is temperature important when making pie dough?
Keeping all the ingredients, including the butter, shortening, and water, as cold as possible helps prevent the fats from melting before the crust hits the hot oven, ensuring a flaky texture.
What are the methods for mixing and shaping flaky dough?
Some methods include using a pastry cutter or 2 forks, a food processor, or hand mixing. When rolling out the dough, a lightly floured work surface and a rolling pin are used.
Why is resting the dough important?
Resting the dough allows the gluten to relax and the fats to firm up, making the dough easier to handle and preventing shrinkage while baking.
Can pie crusts be made ahead of time?
Yes, pie crusts can be made ahead of time and frozen for up to 3 months. Thawing the dough overnight in the refrigerator before rolling it out is recommended.
How do you achieve the best flaky pie crust?
To achieve the best flaky pie crust, use cold ingredients, cut the butter into small uniform pieces, adjust the amount of water added, and allow the dough to rest at various stages.
Is it better to use butter or shortening in pie crusts?
The choice between butter and shortening is a matter of personal preference. Butter adds flavor and contributes to flakiness, while shortening helps create a more pliable dough.
How can I make a perfectly flaky pie crust?
Use quality ingredients, keep everything cold, work quickly but gently, and allow the dough to rest when needed. Experiment with different fats to find your preferred balance of flavor and texture.
What is the key to making delicious pastries with flaky dough?
The key is to use quality ingredients, follow expert tips, and practice the techniques to achieve the perfect flaky dough for a variety of delicious pastries.