Welcome to our guide on how to make the perfect flaky biscuits! Whether you’re a seasoned baker or just starting out in the kitchen, we’ve got you covered with this comprehensive recipe and tips to help you achieve flaky biscuits every time. Say goodbye to store-bought biscuits and hello to homemade goodness!
Key Takeaways:
- Learn the science behind flaky biscuits and the importance of choosing the right ingredients.
- Master the art of cutting cold butter into the flour for optimum flakiness.
- Discover the secrets to kneading and rolling dough for tender biscuits with perfect layers.
- Get essential baking tips and tricks for achieving a golden-brown crust and a flaky interior.
- Explore flavorful variations and add-ins that will take your biscuits to the next level.
The Science Behind Flaky Biscuits
To achieve that irresistible, flaky biscuit texture, it’s essential to understand the science behind it. It’s not just about following a recipe; it’s about mastering the biscuit dough techniques and incorporating some well-kept biscuit baking secrets. So, let’s dive into the scientific principles that make flaky biscuits a reality.
The secret to flaky biscuits lies in the combination of ingredients and the way they interact during the baking process. One crucial ingredient in creating that perfect texture is cold butter. When cold butter is added to the dough and placed in the oven, it creates pockets of steam. These steam pockets lead to the layers and flakiness we crave in a good biscuit.
Pro Tip: To ensure your butter is truly cold, freeze it for 10-15 minutes before incorporating it into the dough. This will keep it solid for longer during the baking process, resulting in more defined layers and a flakier biscuit.
Another primary ingredient in achieving flaky biscuits is buttermilk. Buttermilk is slightly acidic, which reacts with the leavening agents like baking powder or baking soda in the dough. This reaction produces carbon dioxide, which causes the dough to rise. The carbon dioxide also contributes to the formation of those delicate, airy layers in the biscuits.
Aside from the ingredient combination, the way you handle the dough plays a crucial role in achieving the desired flaky texture. It’s important not to overmix or over-knead the dough, as this can lead to tough, dense biscuits. Instead, gently mix the ingredients until just combined, and then fold the dough over itself a few times to create those beautiful layers.
Biscuit Dough Techniques
There are various biscuit dough techniques you can employ to ensure flakiness:
- Use a pastry blender or your fingertips to cut the cold butter into the dry ingredients. This method ensures that the butter is evenly distributed throughout the dough and creates the desired layers.
- Avoid overmixing the dough. This can prevent the development of gluten, resulting in a tender biscuit.
- When rolling out the dough, handle it as little as possible to keep the butter cold and intact.
- Folding the dough over itself a few times creates even more layers and contributes to flakiness.
Biscuit Baking Secrets
Here are some biscuit baking secrets to enhance flakiness:
- Preheat the oven to a high temperature, usually around 450°F (230°C). The initial high heat helps create steam quickly, activating the leavening agents and producing fluffier, flakier biscuits.
- Place your biscuits close together on the baking sheet. This helps the biscuits rise and support each other as they bake.
- Be mindful of the baking time. Over-baking can lead to dry and tough biscuits, while under-baking can result in a doughy texture. Aim for a golden brown color and a biscuit that feels firm yet tender to the touch.
Understanding the science behind flaky biscuits and mastering the biscuit dough techniques will set you on the path to biscuit perfection. So, get ready to impress your friends and family with irresistibly flaky biscuits fresh from your oven!
| Ingredients | Techniques |
|---|---|
| Cold Butter | Cut butter into dry ingredients |
| Buttermilk | Gently mix ingredients, fold dough |
| Pastry Blender | Avoid overmixing |
| High Temperature | Preheat oven, bake at high temperature |
| Close Placement | Place biscuits close together on baking sheet |
| Timing | Aim for golden brown color, firm yet tender biscuits |
Choosing the Perfect Flour
The type of flour you use can greatly affect the texture and taste of your biscuits. To create the flakiest, most delicious biscuits, it’s important to choose the right flour. Here are some key types of flour that work well for biscuit-making:
- All-Purpose Flour: This versatile flour is commonly used in biscuit recipes. It provides a good balance of protein and starch, resulting in biscuits with a tender texture.
- Self-Rising Flour: If you want to simplify your biscuit-making process, self-rising flour is a great option. It already contains baking powder and salt, eliminating the need to measure and mix these ingredients separately.
- Cake Flour: For biscuits that are extra tender and delicate, cake flour is an excellent choice. It has a lower protein content than all-purpose flour, resulting in a softer texture.
- Whole Wheat Flour: If you prefer a heartier, whole-grain biscuit, using whole wheat flour is a great option. It adds a nutty flavor and extra fiber to your biscuits.
Now that you know the types of flour available, let’s talk about how to properly measure and store flour for the best results. When measuring flour for biscuits, it’s crucial to use the correct technique to ensure accuracy. Here’s how to measure flour properly:
- Spoon the flour into the measuring cup.
- Level off the excess flour with a straight-edged utensil, such as a knife or spatula.
Properly storing flour is essential to maintain its freshness and quality. Here are some tips for storing flour:
- Store flour in an airtight container to prevent moisture absorption and keep pests out.
- Keep flour in a cool, dark place, away from heat and sunlight.
- Label the container with the date of purchase to ensure you’re using fresh flour.
By selecting the right flour and following proper measuring and storing techniques, you’ll be well on your way to creating biscuits with the perfect texture and flavor.
The Art of Cutting Butter
In order to achieve that sought-after flakiness in your biscuits, mastering the art of cutting butter is essential. Cutting butter into the flour correctly allows for the creation of distinct layers, resulting in biscuits with a light and airy texture.
There are several techniques you can use to cut butter into your biscuit dough:
- Pastry Cutter: This handheld tool is designed specifically for cutting butter into dry ingredients. With its sharp blades, it allows you to easily blend the butter into the flour until it resembles coarse crumbs.
- Forks: If you don’t have a pastry cutter, two forks can be used to achieve a similar effect. Hold one fork in each hand and use them to cut the butter into the flour by crossing the forks over each other repeatedly.
- Grater: Another handy technique is grating frozen butter directly into the flour. The small, grated pieces of butter distribute evenly throughout the dough, creating perfect pockets of flakiness.
No matter which technique you choose, remember to start with cold butter straight from the refrigerator. Cold butter is essential for achieving the desired flakiness in your biscuits.
Once your butter is cut into the flour, gently incorporate any additional wet ingredients, such as buttermilk, to bring the dough together. Overmixing can lead to tough biscuits, so be sure to mix just until the ingredients are combined.
Pro Tip: The Power of Layering
When you cut butter into your biscuit dough, you’re essentially creating layers of fat that melt during baking. This creates steam, which lifts the layers of dough and gives your biscuits that signature flaky texture.
“Cutting cold butter into the flour creates a beautiful marbled effect that translates into layers of flavor in each bite.” – Chef Julia Miller
To achieve the best results, it’s important to handle the dough gently and avoid overworking it. This preserves the layers of butter throughout the dough and ensures a light and tender texture.
| Technique | Advantages | Disadvantages |
|---|---|---|
| Pastry Cutter | – Easy to use – Provides control over cutting butter into flour |
– Requires a separate tool – May take longer |
| Forks | – Easily accessible household items – Provides an effective alternative to a pastry cutter |
– Requires more effort and coordination – May take practice to master |
| Grater | – Quick and efficient – Creates evenly distributed butter in dough |
– Requires freezing butter beforehand – May result in smaller pieces |
Mastering the Dough
The process of making biscuit dough is crucial for achieving a tender and flaky texture. By mastering the right techniques, you can ensure that your biscuits turn out light and perfect every time.
Start by gathering your ingredients – flour, cold butter, and buttermilk. The quality of your ingredients can greatly affect the outcome, so opt for high-quality options.
Next, it’s time to mix the ingredients. Combine the flour and a pinch of salt in a mixing bowl. Using a pastry cutter or your fingertips, cut the cold butter into small chunks and incorporate it into the flour until the mixture resembles coarse crumbs.

Now comes the crucial step of kneading the dough. Transfer the crumbly mixture onto a lightly floured surface and gently bring it together with your hands. Be careful not to overmix the dough as it can lead to tough biscuits. Instead, aim for a dough that is just combined and holds its shape.
To achieve a light and flaky texture, mastering the rolling technique is essential. Roll out the dough to a thickness of about 1/2 inch, using a rolling pin dusted with flour to prevent sticking. As you roll, be mindful not to put too much pressure or overwork the dough.
When it comes to cutting the biscuits, use a round biscuit cutter or a glass with a sharp edge. Press down firmly but avoid twisting the cutter as it can seal the edges and inhibit rising. Place the cut biscuits onto a parchment-lined baking sheet, leaving a little space between each one.
Tip: For extra flakiness, you can fold the dough in half and roll it out again before cutting the biscuits. This creates additional layers in the dough, resulting in a light and airy texture.
Once your biscuits are cut, brush the tops with melted butter for a golden-brown finish. Bake in a preheated oven according to your recipe’s instructions, until the biscuits are puffed and golden.
Tip: Placing the biscuits closer together on the baking sheet can help them rise higher, while spacing them apart can create a crisper exterior.
Now that you’ve mastered the dough, be prepared to enjoy homemade biscuits with a tender and flaky texture that will impress anyone who takes a bite.
Baking Tips and Tricks
Once your dough is ready, it’s time to bake those biscuits to perfection. Follow these essential baking tips to ensure that your biscuits turn out golden-brown, with a flaky interior that will leave your taste buds wanting more.
1. Perfect Baking Temperature
The baking temperature plays a crucial role in achieving the ideal texture and color for your biscuits. Preheat your oven to 425°F (220°C) for flaky, golden biscuits. This higher temperature helps create a nice rise and a beautifully crisp exterior.
2. Placement on Baking Sheet
Properly arranging your biscuits on the baking sheet is important for even baking. Leave about 2 inches (5 cm) of space between each biscuit to allow for spreading and ensure that they bake evenly. You can use the back of a spoon to lightly flatten the tops of the biscuits before baking for an even rise.
3. Timing is Key
Keep a close eye on your biscuits while they’re baking, as timing can vary depending on your oven and the size of your biscuits. Bake for approximately 12-15 minutes or until the tops turn a beautiful golden-brown color. Remember, it’s better to slightly underbake than to overbake, as overbaked biscuits can become dry and tough.
By following these baking tips and tricks, you’ll be able to achieve biscuits with a delightful balance of flakiness, tenderness, and savory perfection. Experiment with various recipes and techniques to find your own signature biscuit style.
Remember, the perfect biscuit is an art form that requires practice, but the journey is just as enjoyable as the end result. Embrace the process and have fun exploring the wonderful world of biscuit-making!
Now that you know the baking secrets to flaky biscuits, it’s time to move on to the next section, where we’ll explore flavorful variations to add a delicious twist to your biscuits.
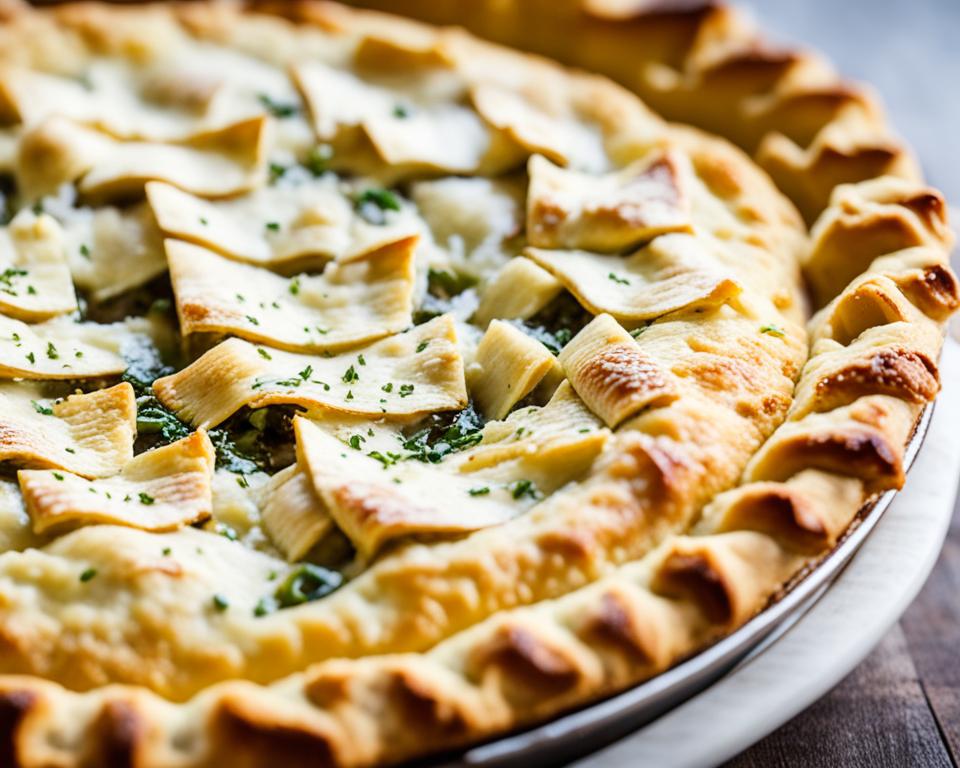
Flavorful Variations
Biscuits are not just a breakfast staple; they are a canvas for your culinary creativity. Whether you prefer savory or sweet, there is a flavor combination and unique add-ins that will take your biscuits to the next level. Let’s explore some delightful options to satiate your taste buds.
Savory Sensations
Elevate your biscuits with savory ingredients that will make your taste buds dance. Try these flavor combinations:
| Flavor Combination | Add-Ins |
|---|---|
| Cheddar and Chives | Freshly grated cheddar cheese and minced chives |
| Bacon and Maple | Crispy bacon bits and a drizzle of maple syrup |
| Rosemary and Garlic | Finely chopped fresh rosemary and minced garlic |
Sweet Delights
If your sweet tooth is calling, these delightful sweet biscuit flavor combinations will satisfy your cravings:
- Strawberry Shortcake: Freshly sliced strawberries and whipped cream
- Cinnamon Sugar: A sprinkle of cinnamon sugar for a sweet, comforting flavor
- Chocolate Chip: Mini chocolate chips mixed into the dough for a gooey treat
Remember, you can always get creative and experiment with different flavors and add-ins. The sky’s the limit when it comes to customizing your biscuits to suit your preferences and surprise your taste buds!
So, whether you desire a savory biscuit bursting with flavor or a sweet indulgence, these unique add-ins and flavor combinations will surely make your biscuits shine. Get ready to impress your family and friends with your creative twists on this classic delight.
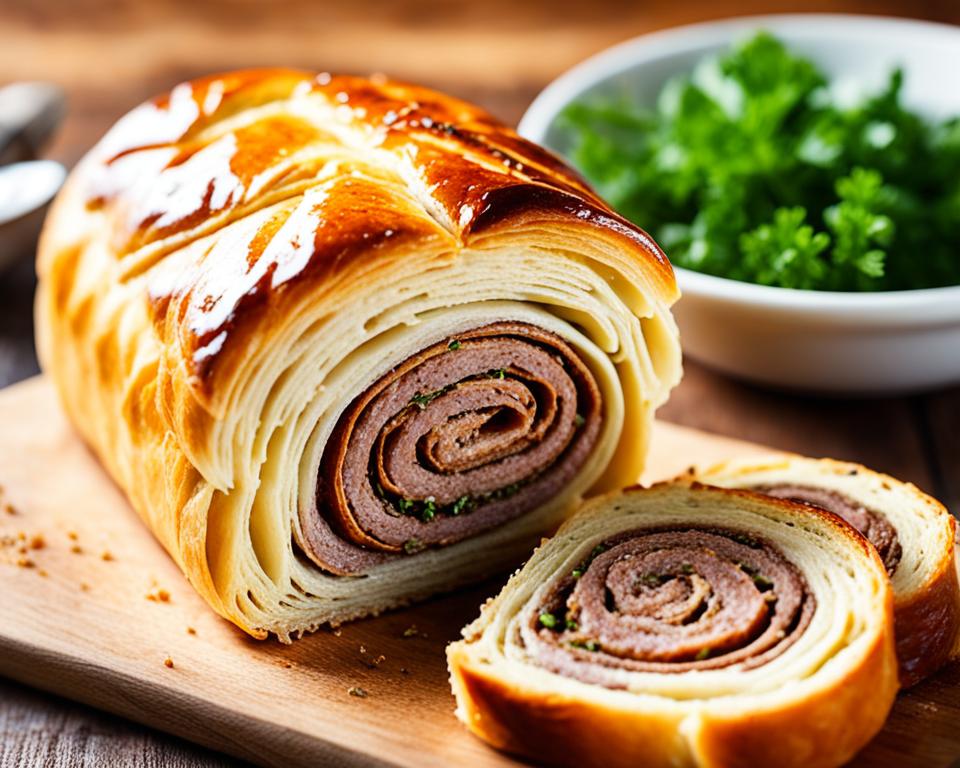
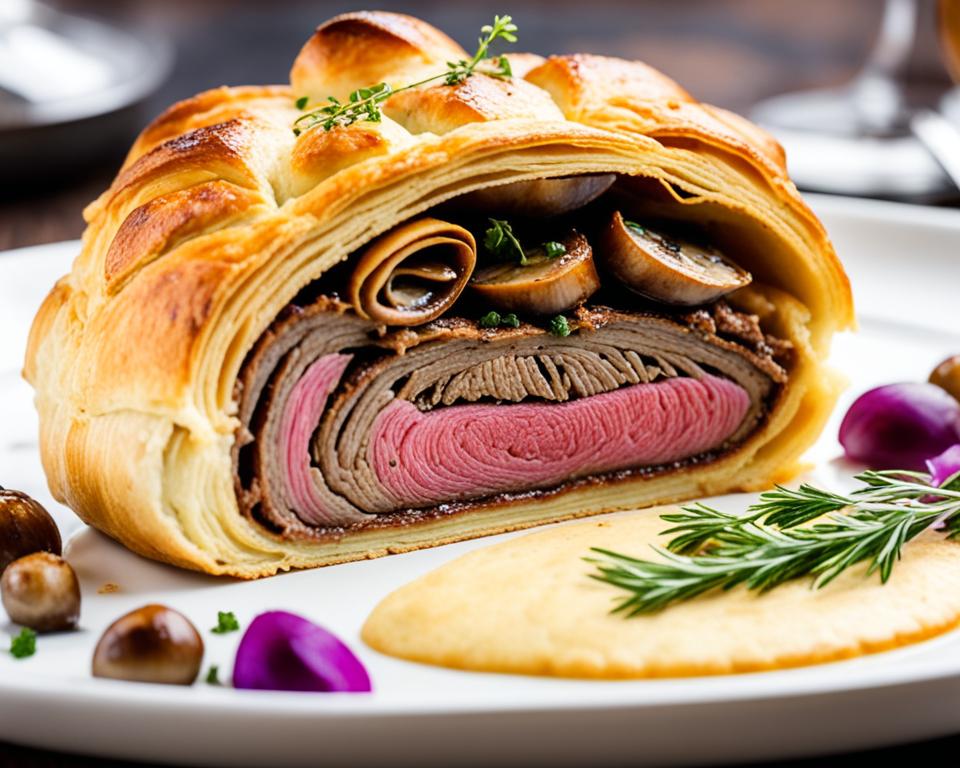
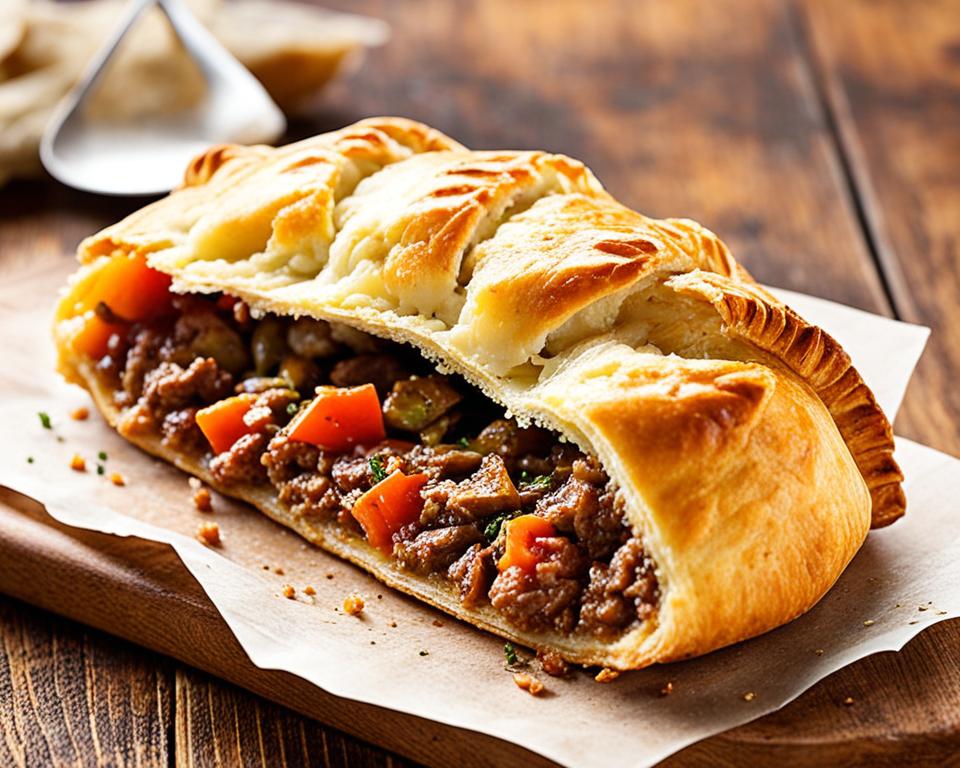
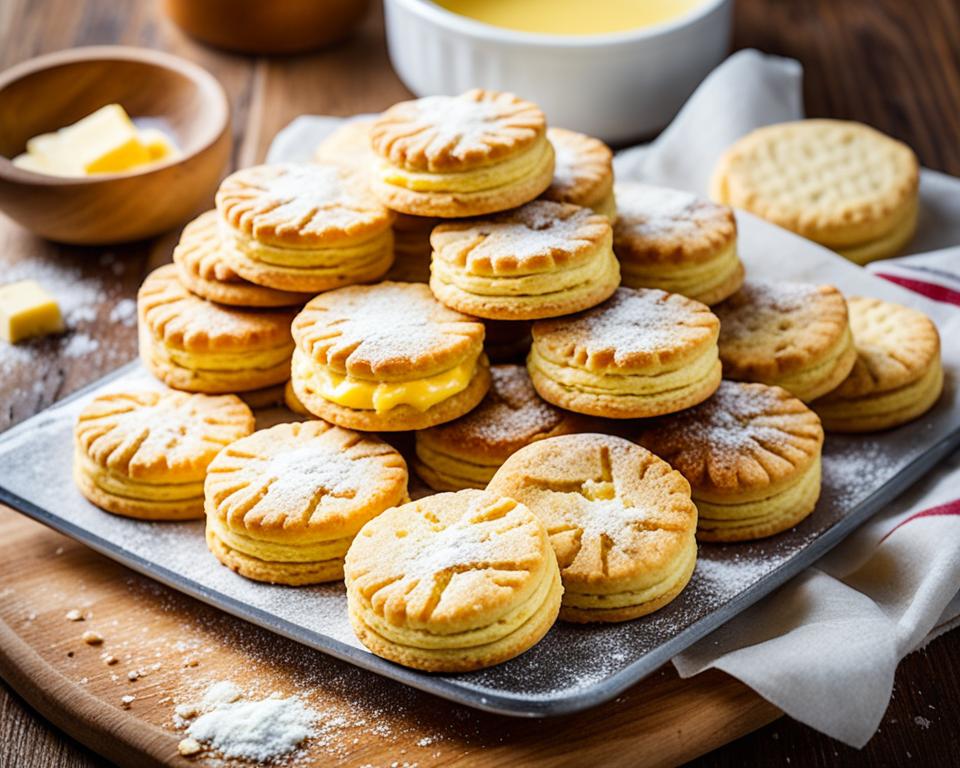
Sometimes an image is worth a thousand words. Feast your eyes on the delicious possibilities that await you!
Serving and Storing Your Biscuits
After baking a batch of heavenly biscuits, it’s important to know the best way to serve and store them. These serving suggestions and proper storage techniques will ensure that your biscuits stay fresh, flavorful, and delicious for as long as possible.
Serving Suggestions
Here are some tasty serving suggestions to elevate your biscuit experience:
- Enjoy biscuits warm and fresh out of the oven, topped with a pat of butter and a drizzle of honey.
- Pair biscuits with a classic breakfast spread of jam, jelly, or marmalade.
- Create savory biscuit sandwiches filled with your favorite ingredients like fried chicken, bacon, egg, or cheese.
- Transform biscuits into a base for strawberry shortcake or serve them with fresh berries and whipped cream for a delightful dessert.
Proper Storage Techniques
To keep your biscuits fresh and preserve their flakiness, follow these proper storage techniques:
“The best way to store biscuits is to let them cool completely and then store them in an airtight container or resealable plastic bag.”
Avoid storing biscuits in the refrigerator, as this can make them soggy. Instead, store them at room temperature in a cool, dry place. Biscuits will typically stay fresh for up to 2-3 days.
If you have leftover biscuits that you’d like to enjoy at a later time, you can freeze them. Here’s how:
- Allow the biscuits to cool completely.
- Wrap each biscuit individually in plastic wrap or place them in airtight freezer bags.
- Label and date the packaging.
- Place the wrapped biscuits in the freezer.
Note: Biscuits can be frozen for up to 2-3 months. To thaw, remove them from the freezer and let them come to room temperature. Reheat in the oven or toaster oven for a few minutes until warm.
By following these guidelines for serving and storing your biscuits, you can ensure that each bite is as fresh and flaky as the day they were baked. Enjoy!
Conclusion
Armed with the knowledge and techniques for creating perfectly flaky biscuits, it’s time to put them into practice. Invite your inner biscuit master to the kitchen and let the aroma of freshly baked biscuits fill your home. Remember, Myma is here to accompany you on your cooking adventures and provide culinary inspiration. Happy biscuit-making!
| Key Takeaways: |
|---|
| 1. Perfect flaky biscuits can be achieved by understanding the science behind them and following proper techniques. |
| 2. Choosing the right flour and mastering the art of cutting butter are essential for creating layers and achieving flakiness. |
| 3. Handling the dough properly, from mixing to kneading and rolling, ensures a tender and flaky texture. |
| 4. Baking tips, such as correct temperature and placement on the baking sheet, help achieve golden-brown, flaky biscuits. |
| 5. Get creative with flavorful variations and unique add-ins to elevate the taste of your biscuits. |
| 6. Properly serving and storing your biscuits will keep them fresh and delicious. |
Frequently Asked Questions (FAQ)
Have some burning questions about making flaky biscuits? We’ve got you covered. Here are the answers to some common biscuit-making questions:
Q: Why are my biscuits not turning out flaky?
A: Achieving flaky biscuits requires following a few key techniques. It’s important to use cold butter, handle the dough gently, and avoid overmixing. Additionally, make sure your oven is properly preheated to the recommended temperature. Practice makes perfect, so don’t be discouraged if your first attempts don’t turn out exactly as desired.
Q: Can I use a different type of flour for my biscuits?
A: While all-purpose flour is commonly used for biscuits, you can experiment with different types of flour to achieve different results. For a lighter and flakier texture, you can try cake flour. Whole wheat flour can add a nutty flavor and additional nutrients. Remember to adjust the amount of liquid if you decide to use a different flour.
Q: Can I freeze biscuit dough?
A: Absolutely! Freezing biscuit dough is a convenient way to have freshly baked biscuits whenever you desire. Simply shape the dough into individual portions, wrap them tightly in plastic wrap, and place them in a freezer-safe bag. When you’re ready to bake, thaw the dough in the refrigerator, then proceed with the baking instructions.
These are just a few of the common questions that biscuit enthusiasts often have. Remember, practice and experimentation are key to perfecting your biscuit-making skills. So don your apron, gather your ingredients, and enjoy the process of creating delicious, flaky biscuits in your own kitchen!
FAQ
What is the key to making flaky biscuits?
The key to making flaky biscuits lies in understanding the science behind it. Using the right ingredients, such as cold butter and buttermilk, and handling the dough properly are essential factors.
How does the type of flour affect biscuit texture?
The type of flour you use can greatly impact the texture and taste of your biscuits. Different types of flour, such as all-purpose or self-rising, can yield different results. Using the appropriate type of flour for biscuits is crucial for achieving flakiness.
What is the best way to cut butter for flaky biscuits?
The best technique for cutting butter into biscuit dough is to use a pastry cutter or your fingertips to break the cold butter into small pieces. Incorporating small chunks of butter into the dough helps create layers, resulting in flaky biscuits.
How do I achieve a tender and flaky texture in biscuit dough?
To achieve a tender and flaky texture in biscuit dough, it’s important to handle the dough gently and not overwork it. Mixing the ingredients just until they come together and lightly kneading the dough are key techniques.
What are some essential baking tips for perfect biscuits?
Some essential baking tips for perfect biscuits include preheating the oven to the right temperature, placing the biscuits on a baking sheet with adequate spacing, and baking them for the correct amount of time. These factors can contribute to a golden-brown crust and a flaky interior.
How can I add flavor to my biscuits?
Biscuits offer endless possibilities for flavor variations. You can incorporate savory or sweet add-ins such as cheese, herbs, bacon, chocolate chips, or dried fruit to elevate the taste of your biscuits.
What is the best way to serve and store biscuits?
To serve biscuits, you can enjoy them warm with butter, jam, or gravy. To store them, allow them to cool completely, then place them in an airtight container or zip-top bag. They can be stored at room temperature for a day or two, or in the refrigerator for a longer shelf life.