Learn how to make a perfectly buttery, flaky pie crust from scratch using this in-depth tutorial and video. This recipe has been a favorite among readers since 2015 and is guaranteed to give you a delicious and foolproof pie crust every time. With the right combination of ingredients and proper techniques, you can create a flaky pie crust that will impress your friends and family.
Homemade pie crusts have an unmatched flavor and texture that store-bought crusts just can’t compete with. By making your own pie crust, you have full control over the ingredients, ensuring a tastier and healthier option. Plus, the satisfaction of creating something from scratch is incredibly rewarding.
Whether you’re a baking enthusiast or a beginner in the kitchen, this easy pie crust recipe will walk you through every step, leaving you with a buttery, flaky crust that will elevate your pies to the next level. So, let’s get started on making the perfect flaky pie dough!
Key Takeaways:
- Making your own pie crust allows you to control the quality and flavor of the crust.
- Using the right combination of ingredients and techniques will result in a flaky and tender crust.
- Keep the pie dough as cold as possible to prevent the fats from melting before baking.
- Work quickly and use proper rolling techniques to achieve an even and uniform crust.
- Homemade pie crust can be made in advance and stored in the refrigerator or freezer for future use.
Why Homemade Pie Crust is Worth the Effort
Making homemade pie crust can be time-consuming, but it is absolutely worth the effort, especially for special occasions. When you make your own pie crust from scratch, you have complete control over the quality and flavor of the crust. It allows you to create a base that perfectly complements your chosen pie fillings and opens up a world of delicious possibilities.
Don’t let the process of making homemade pie crust intimidate you. With a little guidance and practice, you can become a pro at creating your own flaky and buttery crusts, impressing your friends and family with each homemade pie you serve.
So, why is homemade pie crust worth the time-consuming process? Let’s explore:
- Customization: When you make your own pie crust, you can customize it to suit your taste preferences. From experimenting with different types of fats, like butter or vegetable shortening, to adjusting the sweetness and saltiness levels, you have the freedom to create a crust that perfectly complements your filling.
- Quality Control: By making your own pie crust, you have full control over the quality of ingredients used. You can choose high-quality flour, organic butter, and other premium ingredients to ensure a superior crust that will impress your taste buds.
- Flakiness: Homemade pie crust has the potential to be incredibly flaky compared to store-bought alternatives. The secret lies in the technique used to incorporate the butter or vegetable shortening into the flour. With practice, you can achieve layers of buttery flakiness that will elevate your pie to another level.
- Special Occasions: Pies made with homemade crusts are perfect for special occasions. Whether it’s a holiday gathering, a birthday celebration, or a dinner party, serving a homemade pie with a perfectly flaky crust adds a touch of love and effort that makes the occasion even more memorable.
By investing the time and effort into making homemade pie crust, you can create a truly exceptional dessert that will leave a lasting impression on your guests. The unique flavor and texture of a homemade crust will make your pies stand out and ensure that every bite is sensational.
Now that you understand why homemade pie crust is worth the effort, let’s delve into the key ingredients necessary to achieve that perfect crust in the next section.
The Key Ingredients for the Perfect Pie Crust
When it comes to creating the perfect pie crust, the right combination of ingredients is key. Let’s take a closer look at the essential components that make up a flawless crust.
1. Flour
The foundation of any good pie crust starts with flour. Opt for high-quality flour with a higher protein content, such as King Arthur Unbleached All-Purpose Flour. This type of flour can result in a higher rise and a longer shelf life for your baked goods.
2. Salt
A pinch of salt goes a long way in enhancing the flavor of your pie crust. Add just the right amount to bring out the natural sweetness and balance the overall taste.
3. Butter
Butter is a crucial ingredient that adds both flavor and flakiness to your crust. Make sure to use cold butter and cut it into small pieces before incorporating it into the dough.
4. Vegetable Shortening
Vegetable shortening provides structure and stability to the crust. It helps create a light and tender texture that complements the buttery flavor.
5. Ice Water
To bring the dough together, ice water is used. The cold temperature helps prevent the fats from melting and ensures the crust remains flaky. Some recipes even recommend using a combination of water and vodka to further enhance the texture and prevent the dough from becoming tough.
By using the right ingredients in the correct proportions, you can achieve a pie crust that is buttery, flaky, and absolutely irresistible.
| Ingredient | Role |
|---|---|
| Flour | Provides structure and texture |
| Salt | Enhances flavor |
| Butter | Adds flavor and flakiness |
| Vegetable Shortening | Provides structure and stability |
| Ice Water | Brings the dough together |
Now that you know the importance of each ingredient, it’s time to roll up your sleeves and start creating your perfect pie crust. Remember, with practice and patience, you’ll soon be serving up delicious pies that will leave everyone wanting more.
The Importance of Temperature in Pie Dough
Keeping your pie dough cold throughout the process is crucial to achieving a flaky crust. The butter and shortening in the dough should be as cold as possible to prevent them from melting before the crust goes into the oven. Melting fat can result in a greasy and crunchy crust, rather than a tender and flaky one. By refrigerating the ingredients, chilling the dough, and working quickly, you can ensure that your pie crust turns out perfectly.
Why Temperature Matters
The temperature of the ingredients and the dough itself can greatly affect the final outcome of your pie crust. When the fat in the dough melts too quickly, it doesn’t have a chance to create flaky layers in the crust. Instead, it becomes absorbed by the flour, resulting in a dense, heavy texture.
Refrigerating the ingredients, such as butter and shortening, helps to keep them solid. It enables them to create pockets within the dough during baking, which then expand and create those sought-after flaky layers. Additionally, chilling the dough before rolling it out allows the gluten to relax, resulting in a more tender crust.
Prevent Melting with Refrigeration
To prevent the butter and shortening from melting prematurely, it’s important to keep them as cold as possible throughout the pie dough-making process. This is best achieved by following these steps:
- Chill your ingredients: Before mixing your dough, place the butter and shortening in the refrigerator for at least 30 minutes, or until they are very cold to the touch.
- Cut the fat into small pieces: When incorporating the fat into the flour, work quickly to cut it into small, pea-sized pieces. This ensures that the fat remains solid and doesn’t melt.
- Refrigerate the dough: Once the dough is mixed, form it into a disk, wrap it tightly in plastic wrap, and refrigerate it for at least 1 hour before rolling it out.
By keeping your pie dough cold, you can prevent the fat from melting and ensure that your crust bakes up light, tender, and flaky.
Quick Tips for Cold Ingredients
When it comes to pie dough, every little detail matters. Here are some additional tips to keep in mind:
- Measure your ingredients accurately: Using the right amount of cold butter and shortening is essential for the proper texture of your pie crust.
- Handle the dough minimally: Overworking the dough can cause the fat to soften and melt. Handle it as little as possible to keep it cold.
- Work in a cool environment: If possible, work in a cool room or kitchen to help maintain the chill of your ingredients and dough.
By following these tips, you can ensure that your pie crust turns out perfectly flaky and delicious.
The Technique for Mixing Pie Dough
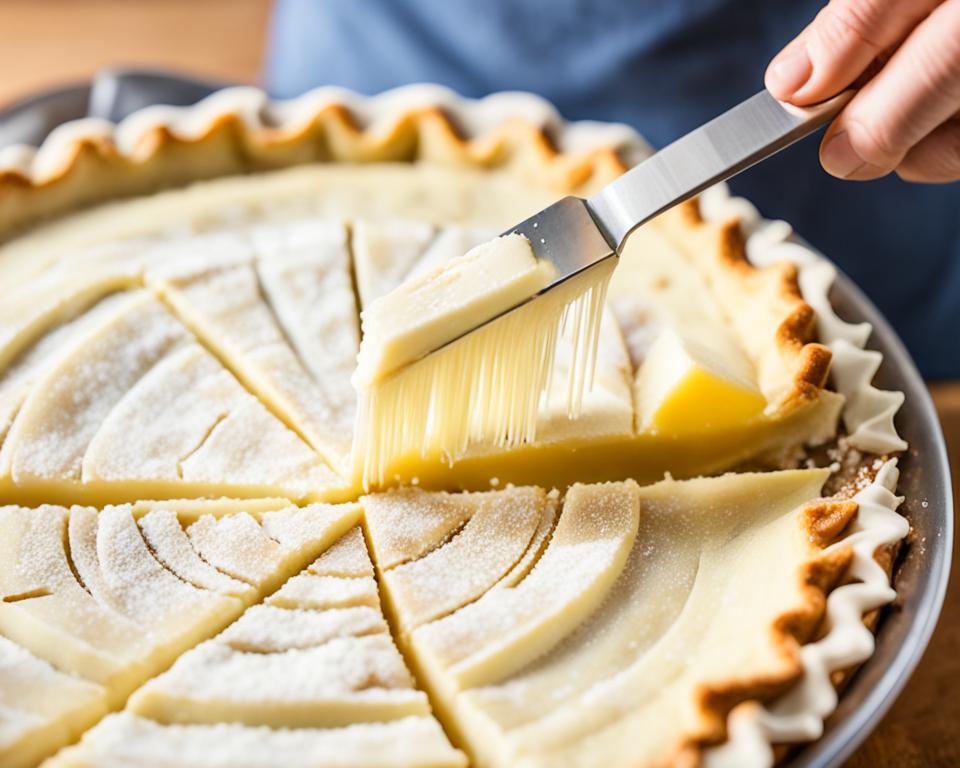
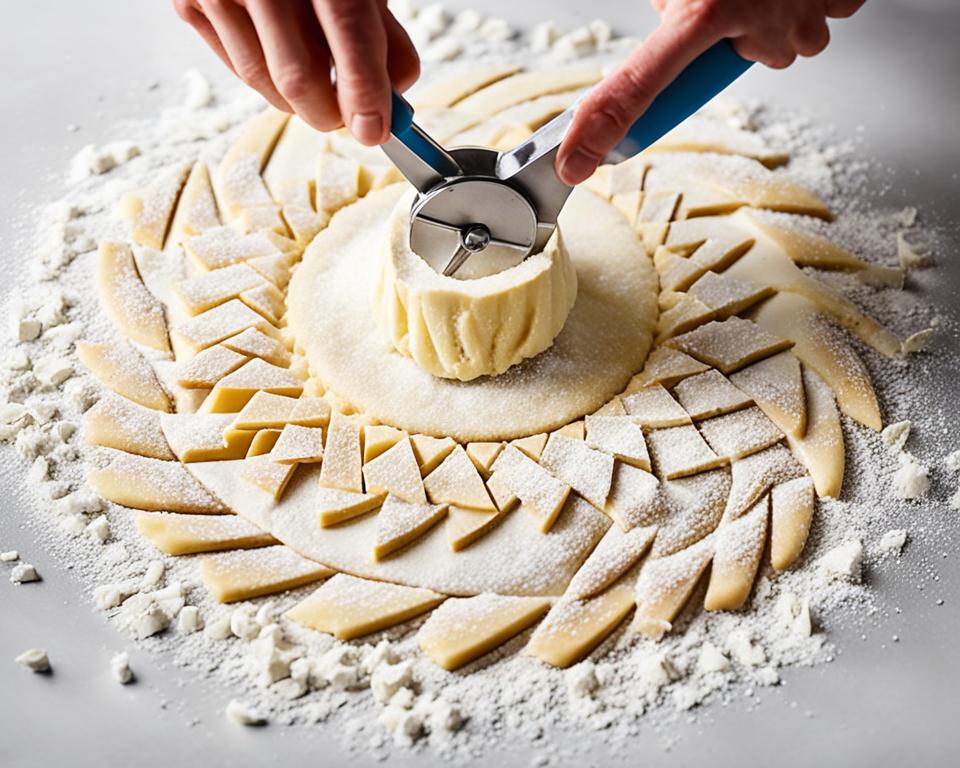
To mix pie dough, it is recommended to use a pastry cutter or two forks to break up the butter and shortening into small flour-coated pieces. This technique prevents overworking the dough and cutting the fats too small, which can result in a less tender crust.
After cutting in the fats, cold water is added gradually until the dough clumps together. The dough should be formed into a ball using your hands, adding more water or flour as needed to achieve the right consistency.
| Technique | Benefits |
|---|---|
| Using a pastry cutter or forks | – Breaks up fats into small pieces – Prevents overworking the dough – Creates a tender crust |
| Gradually adding cold water | – Helps the dough clump together – Allows for easy manipulation and rolling – Achieves desired consistency |
| Forming the dough into a ball | – Ensures easy handling – Facilitates rolling – Provides a cohesive dough for baking |
Resting and Freezing Pie Dough
Once you’ve prepared your pie dough, it’s important to give it time to rest in the refrigerator. This resting period allows the gluten to relax and the fats to solidify, resulting in a more tender and flaky crust. Resting the dough also gives you the flexibility to make it ahead of time and freeze it for future use.
Resting in the refrigerator: Place the dough in a plastic wrap or airtight container and refrigerate it for at least 2 hours or up to 5 days. This step is essential for the dough to chill thoroughly and develop its desired texture.
Freezing: If you want to make pie dough ahead of time or have some on hand for impromptu pie cravings, freezing is a great option. Wrap the dough tightly in plastic wrap, place it in a resealable freezer bag, and freeze it for up to 3 months. Freezing the dough preserves its freshness and ensures that you always have a homemade crust ready when you need it.
To use frozen pie dough, simply thaw it overnight in the refrigerator before rolling it out. This gradual thawing process prevents the dough from becoming too soft and sticky, allowing you to work with it more easily.
Whether you choose to rest your dough in the refrigerator or freeze it for later, these make-ahead options provide convenience and ensure that you can enjoy homemade pie crust whenever you need it.
Comparison: Resting vs. Freezing Pie Dough
| Resting in the Refrigerator | Freezing |
|---|---|
| Gives the gluten time to relax and the fats time to solidify | Prolongs the shelf life of the dough |
| Allows for more immediate use within 2 hours | Provides make-ahead convenience for up to 3 months |
| Preserves the dough’s freshness | Ensures readiness for impromptu pie cravings |
Rolling Out and Using Pie Dough
Rolling out the pie dough is an important step in the pie-making process. To achieve a smooth and perfectly rolled crust, follow these techniques and tips:
1. Work with one crust at a time: Keep the other crust in the refrigerator until you’re ready to roll it. This helps maintain the dough’s consistency and prevents it from becoming too soft.
2. Prepare a floured surface: Lightly flour your work surface to prevent the dough from sticking. A clean countertop or a large cutting board works well for rolling out pie dough.
3. Use a rolling pin: A rolling pin is essential for rolling out pie dough. It helps evenly flatten the dough while maintaining control of its thickness. If you don’t have a rolling pin, a clean wine bottle can be a suitable alternative.
4. Employ rolling techniques: Start rolling from the center of the dough outward. This ensures an even thickness and prevents the dough from tearing. Turn the dough occasionally and add more flour to the surface and rolling pin as needed to prevent sticking.
5. Determine the needed dough amount: Consider whether you’re making a single-crust pie, double-crust pie, or decorative pie designs. Each requires a specific amount of rolled dough. Refer to your recipe or personal preference for guidance.
6. Adjust crust size and thickness: Roll the dough into a circular shape, larger than the size of your pie pan, to allow for overhang. Depending on the pie type, adjust the thickness of the rolled dough accordingly. A thinner crust is suitable for delicate tart-like pies, while a thicker crust adds sturdiness to fruit pies.
7. Transfer the dough: Gently lift the rolled dough by rolling it around the rolling pin and transferring it to the pie pan. Unroll it from the pin onto the pan, ensuring it’s centered and covers the entire pan evenly.
8. Trim and shape the crust: Trim any excess dough hanging over the edges of the pie pan using kitchen shears or a sharp knife. Create a decorative edge by pressing the dough against the rim of the pan with your fingers or using a fork to create indentations.
Once your pie crust is rolled out, you’re ready to proceed with your chosen pie filling and baking instructions. Enjoy the flaky goodness of your homemade pie!
“Rolling out the pie dough is like a blank canvas waiting to be transformed into a delicious masterpiece.” – Unknown
Making Pie Crust in Advance
Planning ahead is the key to stress-free pie making. By preparing your pie crust in advance, you can save time and have delicious homemade pies whenever you desire. Whether it’s for a special occasion or to take advantage of seasonal fruits, making pie crust ahead of time allows you to enjoy the process with ease.
Here’s how you can make pie crust in advance:
- Prepare your favorite pie crust recipe, following all the instructions.
- Once the dough is ready, divide it into individual portions based on your pie needs (e.g., single-crust or double-crust).
- Wrap each portion tightly in plastic wrap to prevent freezer burn.
- If you’re storing the dough in the refrigerator, keep it for up to 3 days. For longer storage, place it in the freezer for up to 3 months.
To use the frozen pie dough:
- Thaw the frozen dough overnight in the refrigerator to maintain its texture and prevent excess moisture.
- Once thawed, lightly flour your work surface and roll out the dough to the desired thickness.
- Proceed with your pie recipe, filling the pie crust with your favorite ingredients.
- Bake according to your recipe’s instructions and enjoy!
Making pie crust in advance allows you to enjoy the convenience while still savoring the delicious flavors of a homemade crust. By having a ready-to-use crust on hand, you can focus on the fun part—creating mouthwatering fillings and sharing the joy of homemade pie with your loved ones.
| Advantages of Making Pie Crust in Advance | Disadvantages of Making Pie Crust in Advance |
|---|---|
|
|
Conclusion
Making your own flaky pie dough at home is not only a fulfilling experience but also guarantees a delicious result every time. By following the right recipe, using homemade pie crust, you can enjoy the incredible buttery flavor and foolproof texture that store-bought crusts can’t match. Whether you plan to bake a classic fruit pie, a savory quiche, or a delightful tart, a homemade crust will elevate your culinary skills to new heights.
With a few essential ingredients and the right techniques, you can master the art of creating the perfect flaky pie dough. The secret lies in using high-quality flour, such as King Arthur Unbleached All-Purpose Flour, and the combination of butter and vegetable shortening, which adds both flavor and structure to the crust. Remember to keep your ingredients cold and use chilled water to achieve the best results.
Practice makes perfect, so don’t be discouraged if your first attempt isn’t flawless. As you continue to hone your skills, you’ll be able to produce consistently outstanding homemade pie crusts. So grab your rolling pin, gather your ingredients, and embark on your journey to becoming a pro at making the perfect flaky pie dough. Your friends and family will be amazed by your culinary prowess and the delectable treats you create.
FAQ
What makes a pie crust flaky?
A flaky pie crust is achieved by using a combination of cold butter and vegetable shortening, which create layers when baked. The fat should be as cold as possible to prevent it from melting and creating a greasy texture.
How do I make sure my pie crust is tender?
To ensure a tender pie crust, it’s important not to overwork the dough. Using a pastry cutter or two forks, gently mix the fats into the flour until they are evenly distributed. Adding the right amount of water and not overmixing will also help achieve a tender crust.
Can I make pie crust ahead of time?
Yes, pie crust can be made ahead of time. It can be stored in the refrigerator for up to 3 days or in the freezer for up to 3 months. Thaw frozen pie dough overnight in the refrigerator before rolling it out.
How thick should I roll out my pie crust?
When rolling out pie crust, aim for an even thickness of about 1/8 to 1/4 inch. This will ensure that the crust bakes evenly and has a nice balance between tenderness and structure.
Can I use a different type of fat instead of butter and shortening?
Butter and shortening are commonly used in pie crust recipes because they provide the best combination of flakiness and stability. However, you can experiment with other fats, such as lard or coconut oil, but keep in mind that they may affect the texture and flavor of the crust.
How long should I let my pie crust rest before using it?
It’s recommended to refrigerate the pie dough for at least 2 hours or up to 5 days to allow the gluten to relax and the fats to solidify. This resting period helps create a more tender and flaky crust.
My pie dough is too dry. What should I do?
If your pie dough is too dry and crumbly, add small amounts of ice water, a teaspoon at a time, until the dough clumps together. Be careful not to add too much water, as it can make the crust tough.
What can I use pie crust for besides fruit pies?
Pie crust can be used for a variety of sweet and savory dishes, such as quiches, tarts, pot pies, turnovers, and galettes. Get creative and experiment with different fillings to discover new flavor combinations.
Can I freeze unbaked pie crust?
Yes, unbaked pie crust can be frozen for up to 3 months. Make sure to tightly wrap the dough in plastic wrap or place it in an airtight container. Thaw the frozen dough overnight in the refrigerator before using or rolling it out.

